Difference between revisions of "Project Tree"
(Created page with "<languages/> <translate> {{DISPLAYTITLE:Project Tree}} == Project Tree == The top left box in the software Interface is the managment panel of the current project that contain...") |
(No difference)
|
Revision as of 11:31, 23 July 2015
Contents
Project Tree
The top left box in the software Interface is the managment panel of the current project that contains all of the acquired and modified data.
The project tree in a structured project is different from a free project.
Structured Project
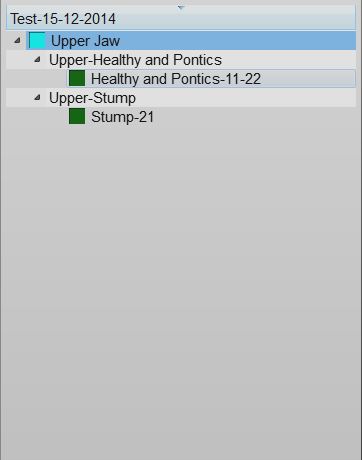
This image show an example of a Project Tree during a structed project.
Data State and Selection
Every entry in the project can be in 3 different states marked bu different color boxes:
- No Data (Gray Box): This element is neede for the project but no data is available. You need to import this element or scan it
- Acquired (Blue Box): You have an acquisition of this element ready. You can align this data with the rest of the project, edit it or convert it into mesh
- Meshed (Green Box): You have a mesh of this element ready. You can edit this data and export it.
Each time an entry is selected it will be displayed in the 3D View and the software will activate the buttons for all the action available for the selected element in the menues, the Main Toolbar and the Support Toolbars.
The information is layed out as a tree, every element can have child elements. This represent the information dependency in the project. For example a single stup is part of a jaw so it's a child of the jaw and the software, when asked to align the stump to the rest of the project, will align it to his parent jaw.
Context Menu
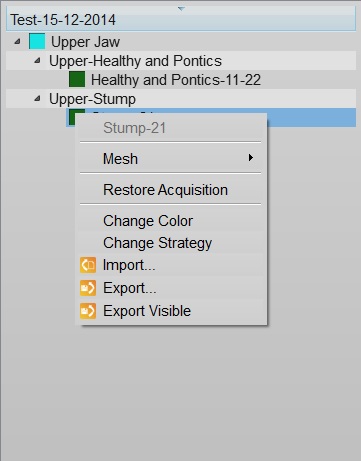
If you right click on a Project Tree element a context menu will appear
The context menu will have:
- A Sub Menu with the tools for the selected element (Mesh, Acquisition)
- A Restore Acquisition button that will remove a mesh and recover the previous acquisition
- A Change Color button that will change the assigned color of this element, used in the 3D View
- A Change Strategy button that will change the scan and mesh strategy of this element
- A Import... button that will import an acquisition or mesh from the disk in the supported formats
- A Export... button that will export the acquisition or mesh to the disk in a supported format
- A Export Visible button that will merge and export all the current selected meshes in one single file
Drag And Drop
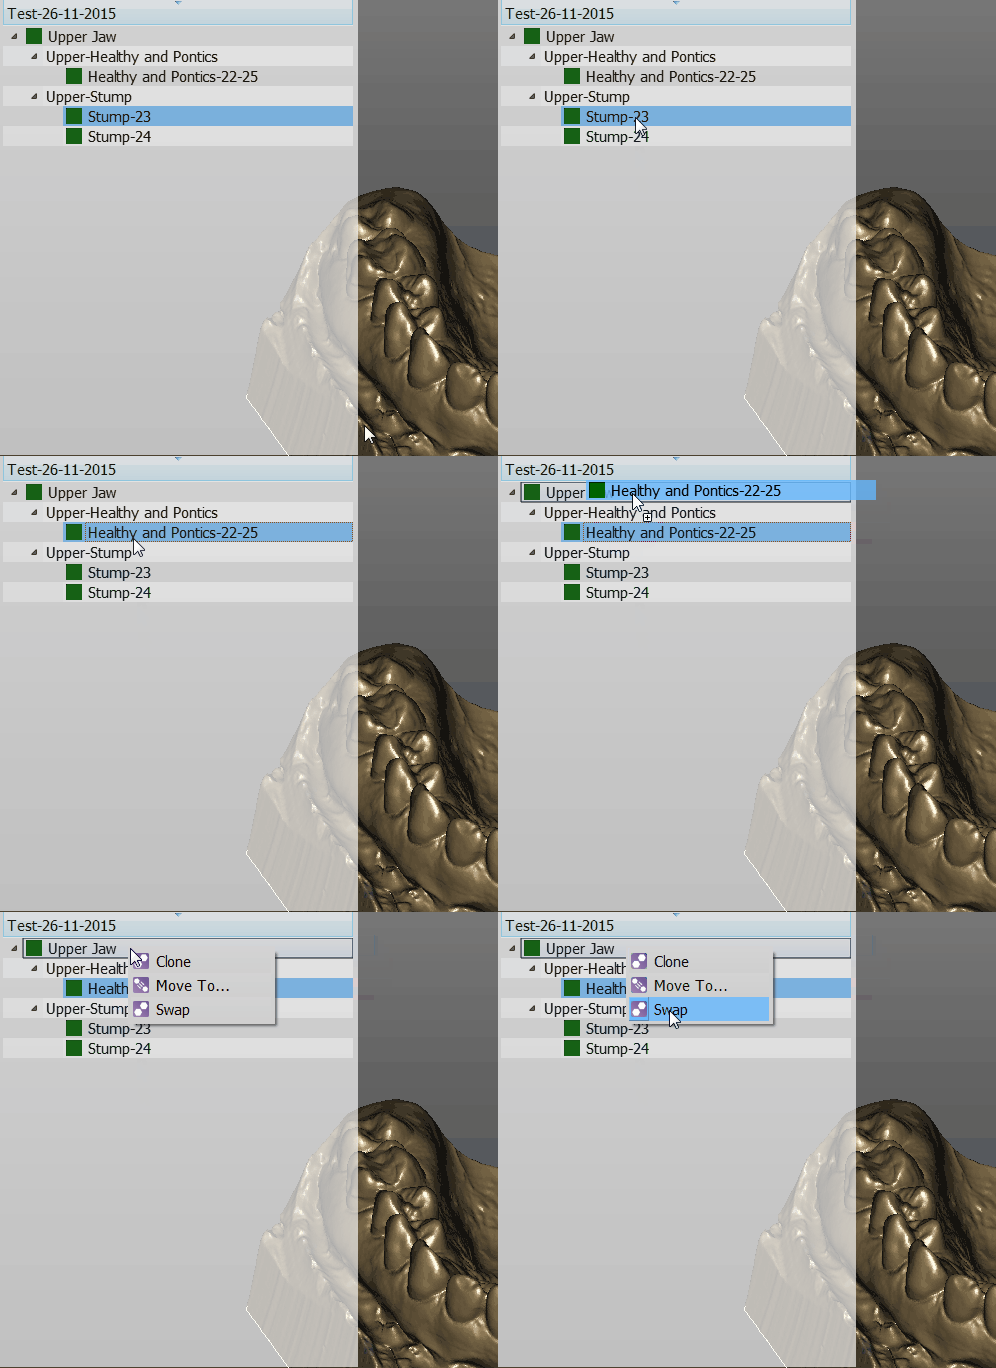
You can drag one element and drop it over a different one
The available actions will be:
- Clone to create a copy of this element
- Move To ... to clone the element and remove the original one
Free Project
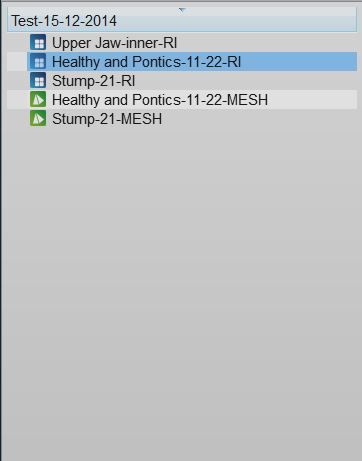
This is a screenshot of a Free Project Tree
In a free project mode the software have no idea of the dependencies between the data. So there's no tree, no childrens. Only a list of objects.
The objects can be of 2 types. Acqusitions (blue icon) or Meshes (green icon).
For the most part this project works the same from the Structured Project. The differences are:
- To create a copy of a data you need to open the context menu and select the Clone action.
- If you drag one element above another you can move the dragged element in two ways:
- The Direct Align Action to align the two elements autmatically
- The Manual Align Action to align the two elements manually
Now you can return to the Main Page or continue to the Main Toolbar


