Difference between revisions of "Man Acquisition/ro"
(Created page with "= Integrare =") |
(Created page with "După ce un obiect a fost achiziționat în scaner, ar putea fi necesară adăugarea de informații suplimentare la scanarea inițială. De exemplu, o parte din obiect poate l...") |
||
| Line 68: | Line 68: | ||
= Integrare = | = Integrare = | ||
| − | + | După ce un obiect a fost achiziționat în scaner, ar putea fi necesară adăugarea de informații suplimentare la scanarea inițială. De exemplu, o parte din obiect poate lipsi din cauza umbrelor sau deoarece strategia de achiziție nu a acoperit un anumit punct de vedere. | |
In order to integrate additional information, use the '''Integrate Acquisition''' button on the [[Main_Toolbar|Main Toolbar]]. This will launch the ''Integration Mode'', providing 3 different integration tools. It is possible to switch from one tool to another. Confirm the modification with the '''Apply''' {{Inline button|AcceptButton.jpg}} button or discard it with the '''Cancel''' {{Inline button|Dental_2_5_cancelButton.png}} button. | In order to integrate additional information, use the '''Integrate Acquisition''' button on the [[Main_Toolbar|Main Toolbar]]. This will launch the ''Integration Mode'', providing 3 different integration tools. It is possible to switch from one tool to another. Confirm the modification with the '''Apply''' {{Inline button|AcceptButton.jpg}} button or discard it with the '''Cancel''' {{Inline button|Dental_2_5_cancelButton.png}} button. | ||
Revision as of 13:49, 13 September 2017
Contents
Achiziții
Obținerea datelor de la scaner și crearea unei reprezentări 3D virtuale a unui obiect este funcția principală a software-ului OpticalRevEng Dental.
Pentru informații suplimentare despre Step-By-Step Wizard, verificați pagina Wizard Acquisition
Într-un Structured Project în afara expertului, există 3 proceduri pentru a obține date de la scaner.
Simplu
Acesta este cel mai simplu mod de a achiziționa date și cel mai utilizat:
- Puneți obiectul în interiorul scanerului pe suportul de model holder corespunzător
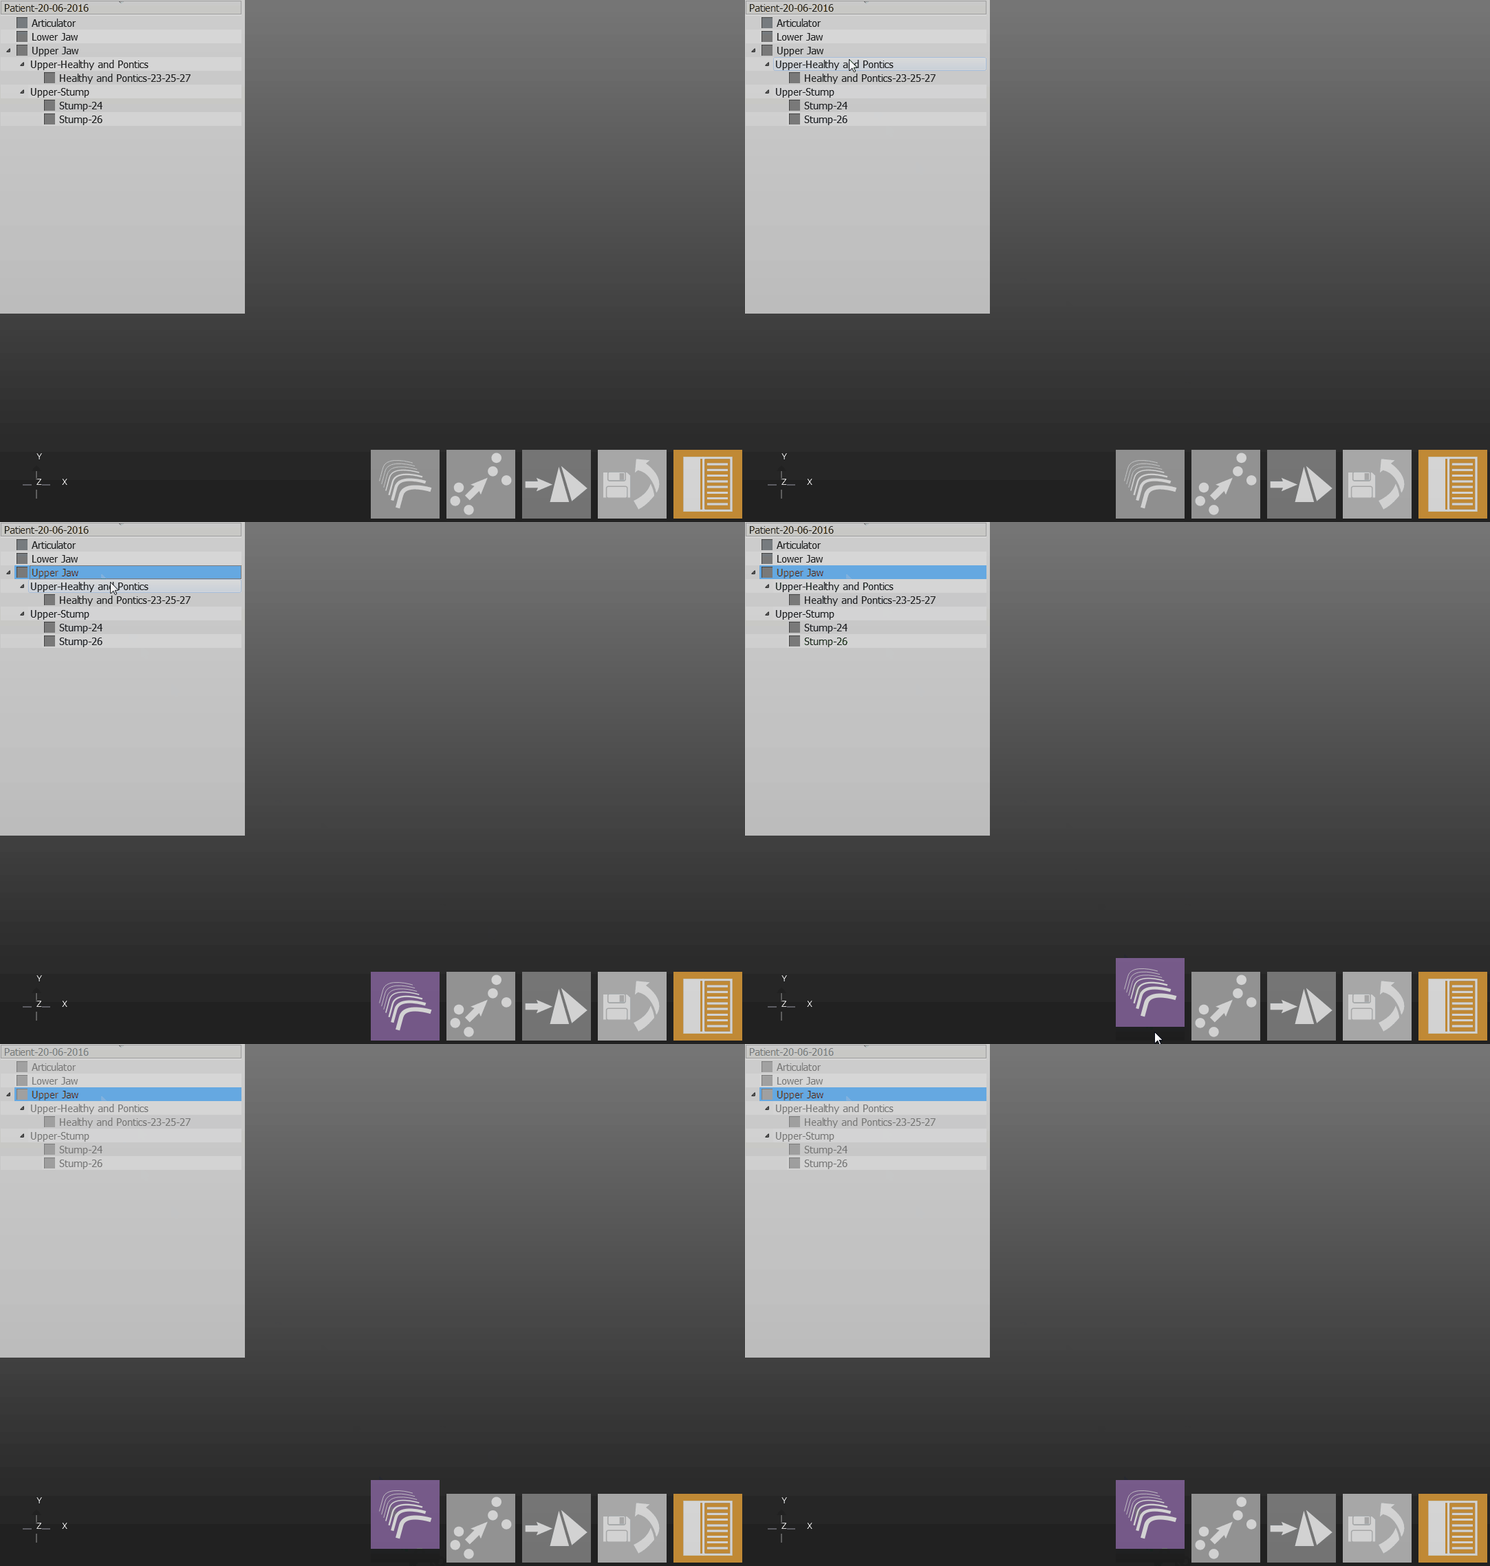
- În "Arborele proiectului", selectați obiectul de scanat
- Faceți clic pe Achiziție din Main Toolbar
Scanerul va achiziționa apoi obiectul folosind strategia elementului selectat, iar Project Tree va fi actualizat.
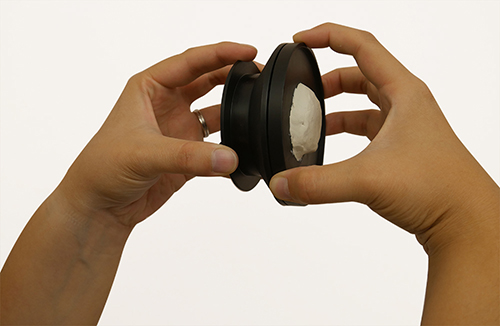
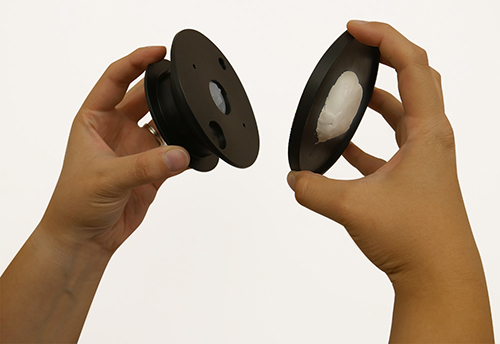
Dacă modelele sunt pregătite pentru a fi montate într-un articulator, acestea ar putea fi prea înalte pentru a fi montate pe suportul înalt și pentru a fi bine focalizate de scaner. Din acest motiv, baza suportului modelului poate fi detașată de placa în sine pentru a permite utilizatorului să scaneze modele mai înalte pe suportul inferior.
Parametrii avansați
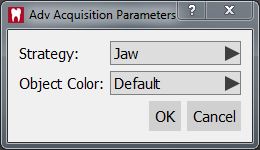
Pentru a utiliza o strategie de achiziție diferită de cea implicită, țineți apăsat butonul ![]() când faceți clic pe Achiziție.
când faceți clic pe Achiziție.
Un dialog suplimentar va permite alegerea unei strategii diferite și a unei culori pentru obiectul care trebuie dobândit
Articulator Dinamic
Dacă Modulul Articulator Dinamic este activat și utilizat, software-ul va reaminti utilizatorului să scaneze maxilarul deasupra bazei adecvate.
Baza care trebuie utilizată depinde de tipul de "articulator" ales în definiția proiectului.
Multi-Die
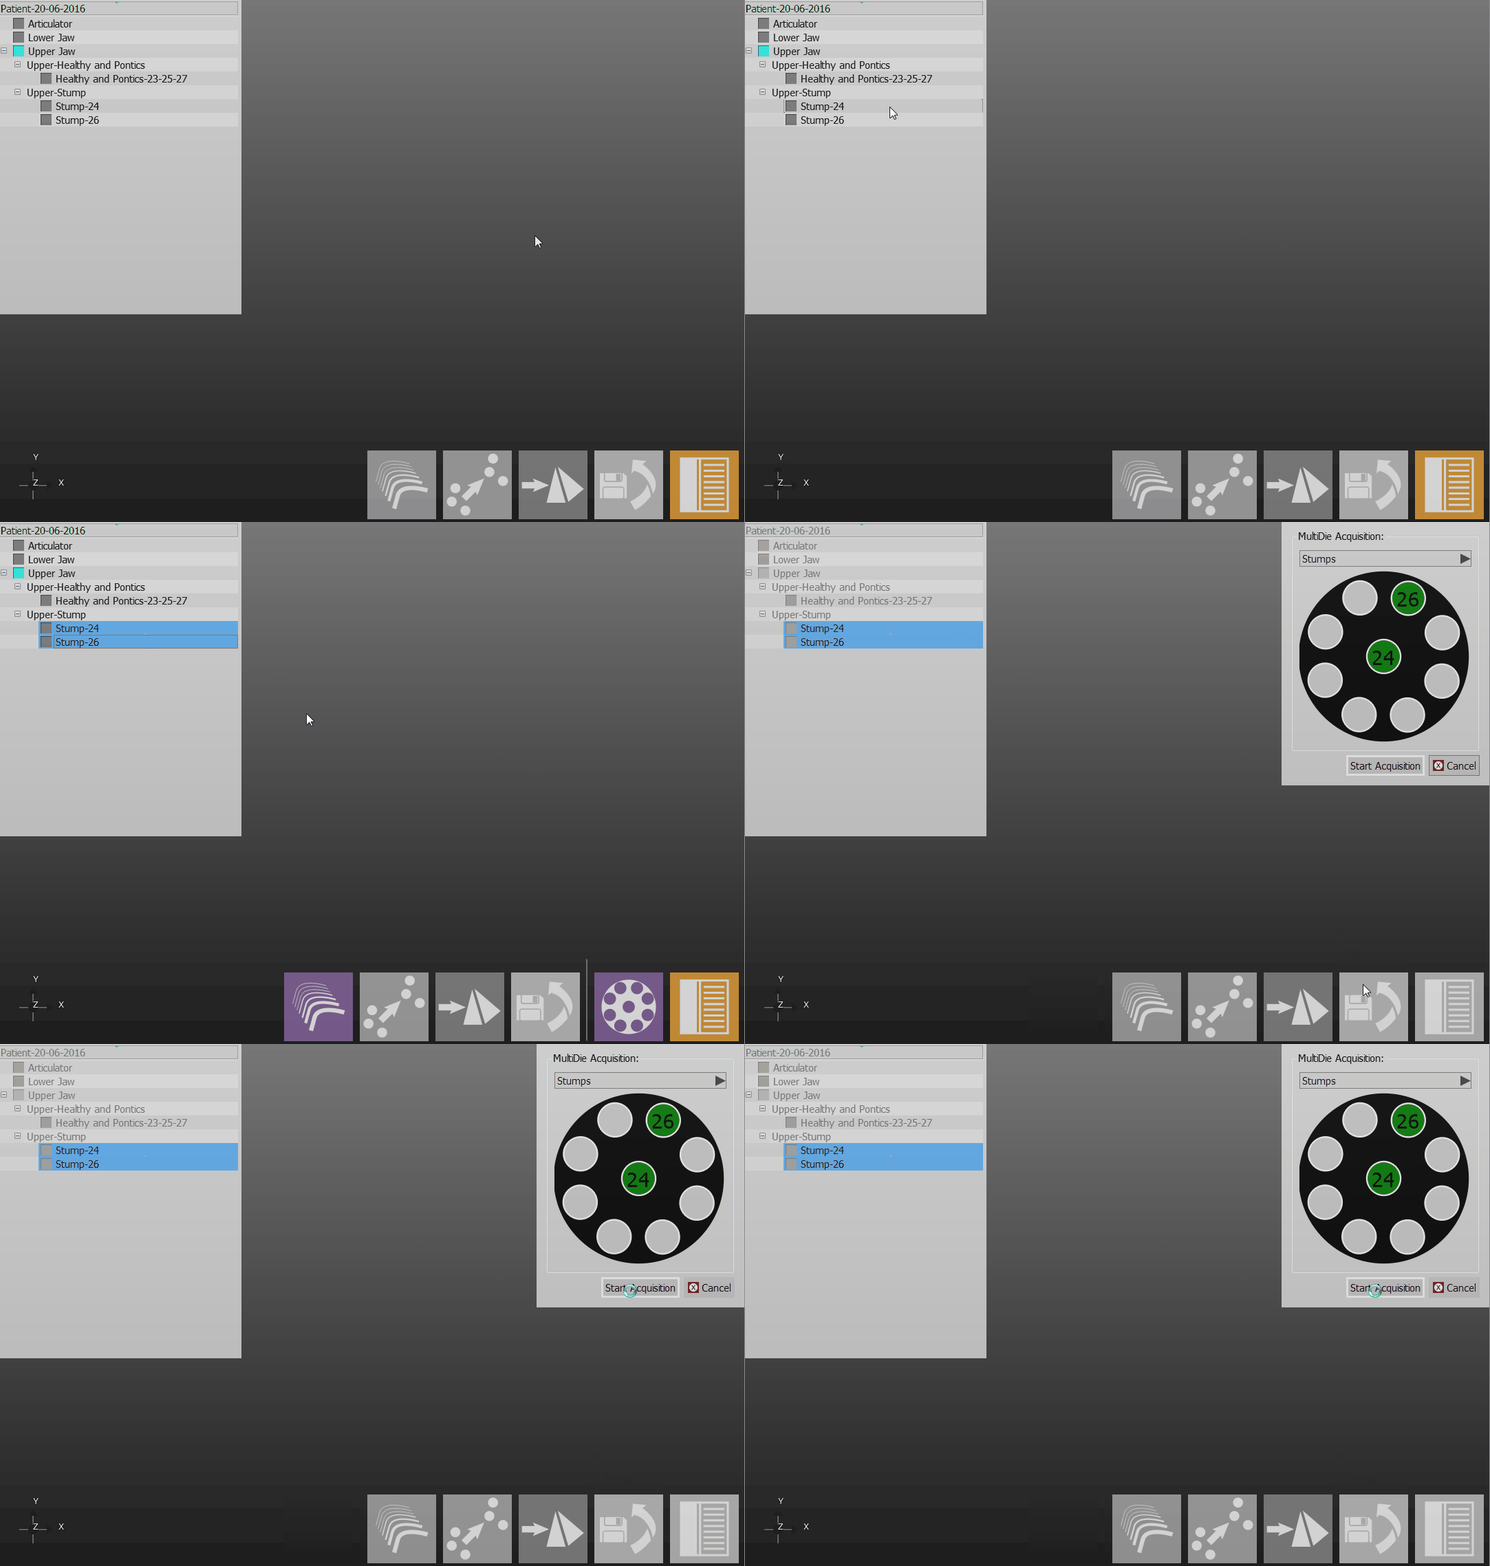
Pentru a scana mai multe bonturi într-o singură scanare, chiar din ambele modele în același timp, folosiți suportul multi-die:
- Selectați din Project Tree toate doarele care trebuie scanate
- Faceți clic pe butonul Multi-Die Acquisition care va apărea pe Main Toolbar. Cel puțin 2 bonți trebuie să fie selectați în Project Tree
- Puneți bonturile în fiecare spațiu al suportului, după cum arată software-ul din fereastra din dreapta sus și puneți suportul Multi-Die în interiorul scanerului
- Faceți clic pe butonul Start Acquisition
Scanerul va achiziționa datele, identificând fiecare bont și actualizând statutul Project Tree
Single
Pentru a obține o singură imagine 3D și nu o reconstrucție a obiectelor de 360 ° (pentru a testa sau a obține o articulație mare într-un mic scanner):
- Puneți obiectul în interiorul scanerului, în cel mai bun mod posibil
- Utilizați instrumentul Single Acquisition tool
Software-ul va efectua o singură achiziție fără a muta sistemul de motoare
Integrare
După ce un obiect a fost achiziționat în scaner, ar putea fi necesară adăugarea de informații suplimentare la scanarea inițială. De exemplu, o parte din obiect poate lipsi din cauza umbrelor sau deoarece strategia de achiziție nu a acoperit un anumit punct de vedere.
In order to integrate additional information, use the Integrate Acquisition button on the Main Toolbar. This will launch the Integration Mode, providing 3 different integration tools. It is possible to switch from one tool to another. Confirm the modification with the Apply ![]() button or discard it with the Cancel
button or discard it with the Cancel ![]() button.
button.
It is possible to add an unlimited number of acquisitions but adding to much data could slow down the project and increase the project disk size.
Single
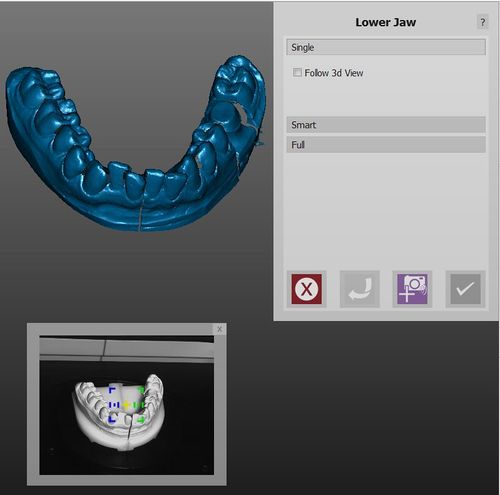
The single integration mode allows to add information from a specific point of view. To add information:
- Rotate the 3D view so that the screen will show exactly the part of the object to be integrated
- Click on the Start Integration
 icon
icon
If you wish for the plate to replicate the virtual movements you apply to the image, check the Follow 3d View Box
If the last added acquisition is not good, useless or problematic, it is possible to remove it with the Undo ![]() button.
button.
If the object is not in the original scanning position, the software can not correctly integrate the information. It is possible to try to fix this problem using the Calc Integration Position button.
Smart
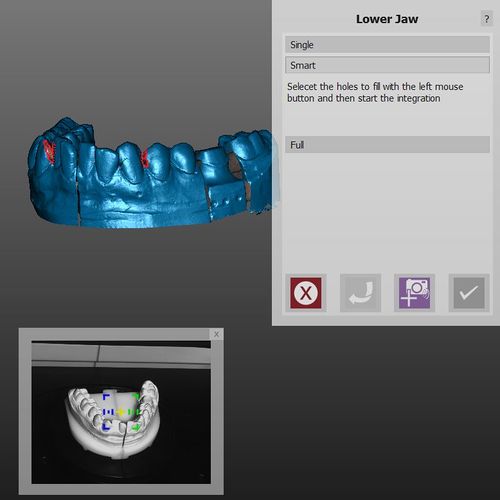
The Smart mode, instead of scanning one position at a time, allows to identify the holes on the virtual model and, if possible, close them with a scanning sequence.
To add a position:
- Rotate the 3D view to identify the holes, and left click on the ones that need to be closed
- Click the
 button to start the integration sequence
The images will be added to the scan and then aligned all together at the end of the acquisition
Full
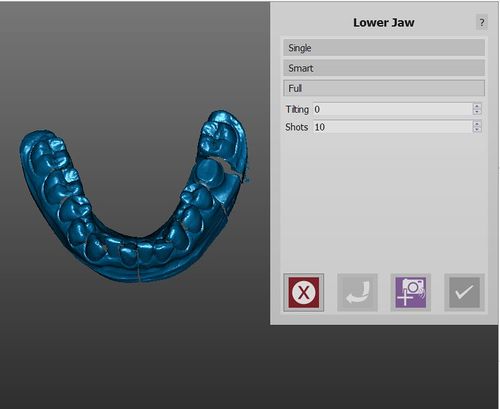
The full integration is the easiest mode: it allows to select as many positions as needed and in which degree the plate must tilt to complete the image.
Then, by clicking the Start Integration ![]() button, the scanner will tilt the model and carry out a 360° acquisition using the selected number of positions.
button, the scanner will tilt the model and carry out a 360° acquisition using the selected number of positions.
Change Strategy
When the Project Tree is created, the software will select a specific strategy for every element, trying to maximize the scan quality and saving space. To change the strategy of an element of the project:
- Right click on the element in the project tree
- Select Change Strategy
- Select the new strategy from the dropdown menu
Another scan of the object will be carried out using the new strategy instead of the old one.
