Difference between revisions of "Man Acquisition/zh-hant"
Democenter (talk | contribs) (Created page with "掃描儀將使用選定元件的策略獲取物件圖像並更新''專案樹狀圖'' 的狀態.") |
Democenter (talk | contribs) (Created page with "=== 進階參數 ===") |
||
| Line 21: | Line 21: | ||
[[File:Denta_2_5_simpleAcquisition.gif]] | [[File:Denta_2_5_simpleAcquisition.gif]] | ||
| − | === | + | === 進階參數 === |
To use an acquisition strategy different from the default, hold the {{Inline button|Key shift.png}} button when clicking on the Acquisition icon. | To use an acquisition strategy different from the default, hold the {{Inline button|Key shift.png}} button when clicking on the Acquisition icon. | ||
Revision as of 02:26, 22 February 2016
Contents
採集
從掃描儀採集資料與創建一個物件的虛擬3D描述是 OpticalRevEng Dental 軟體的主要功能.
有關引導精靈的更多訊息, 請點擊 採集精靈 網頁.
在 結構化專案 精靈以外, 有3種方式從掃描儀獲取資料.
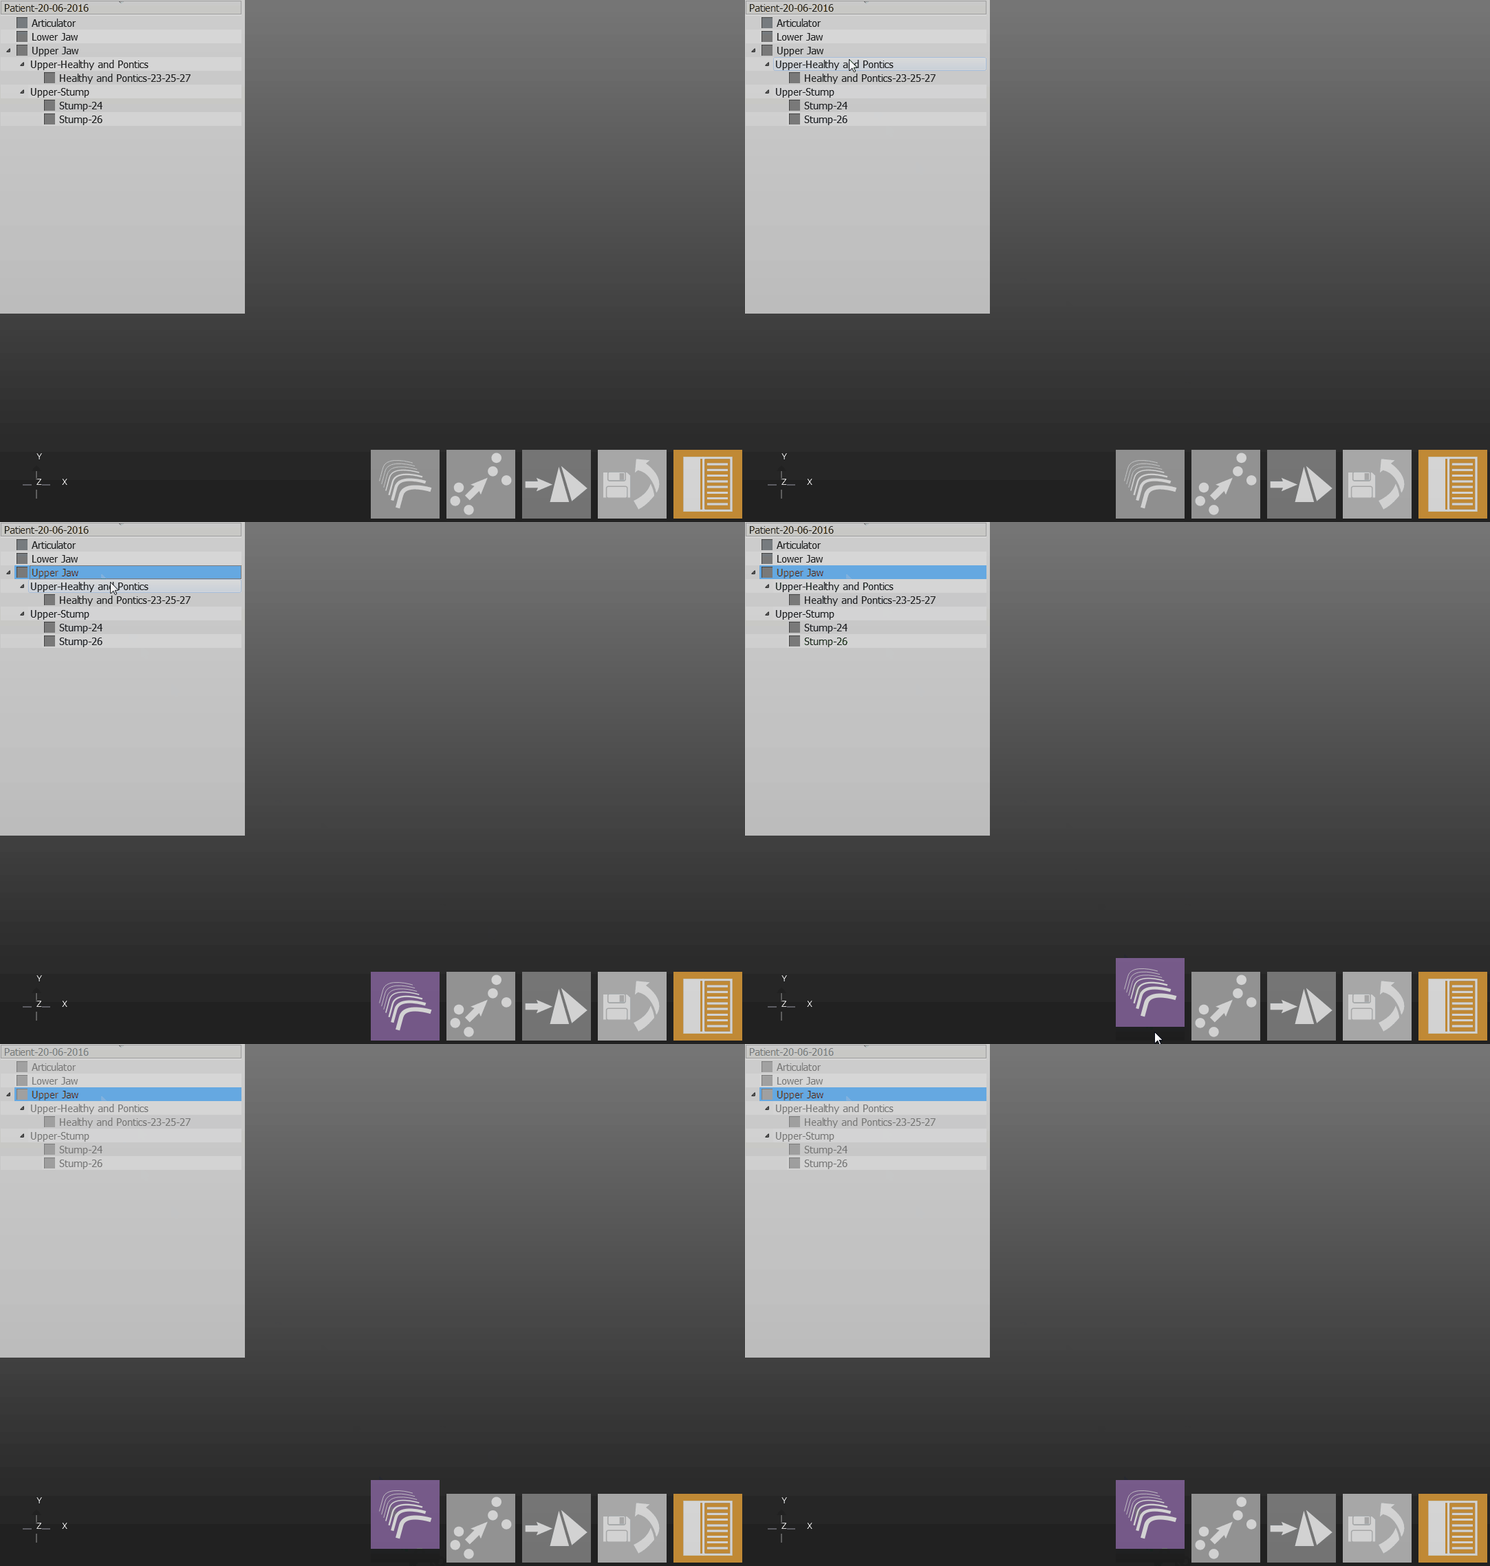
簡單的
這是最容易獲取資料的方法,大多用:
- 將在適當模型架上的物件放入掃描器內
- 在 專案樹狀圖 上選擇掃描物件
- 點擊在 主工具列 的獲取圖標
掃描儀將使用選定元件的策略獲取物件圖像並更新專案樹狀圖 的狀態.
進階參數
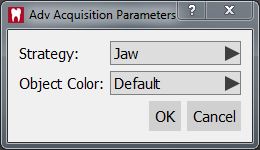
To use an acquisition strategy different from the default, hold the ![]() button when clicking on the Acquisition icon.
button when clicking on the Acquisition icon.
An addittional dialog will allow to choose a different strategy and a color for the object that needs to be acquired
Dynamic Articulation
If the Dynamic Articulation Module is enabled and in use, the software will remind the user to scan the jaw on top of the adequate base.
The base to be used depends on the type of articulator chosen in the project definition.
Multi-Die
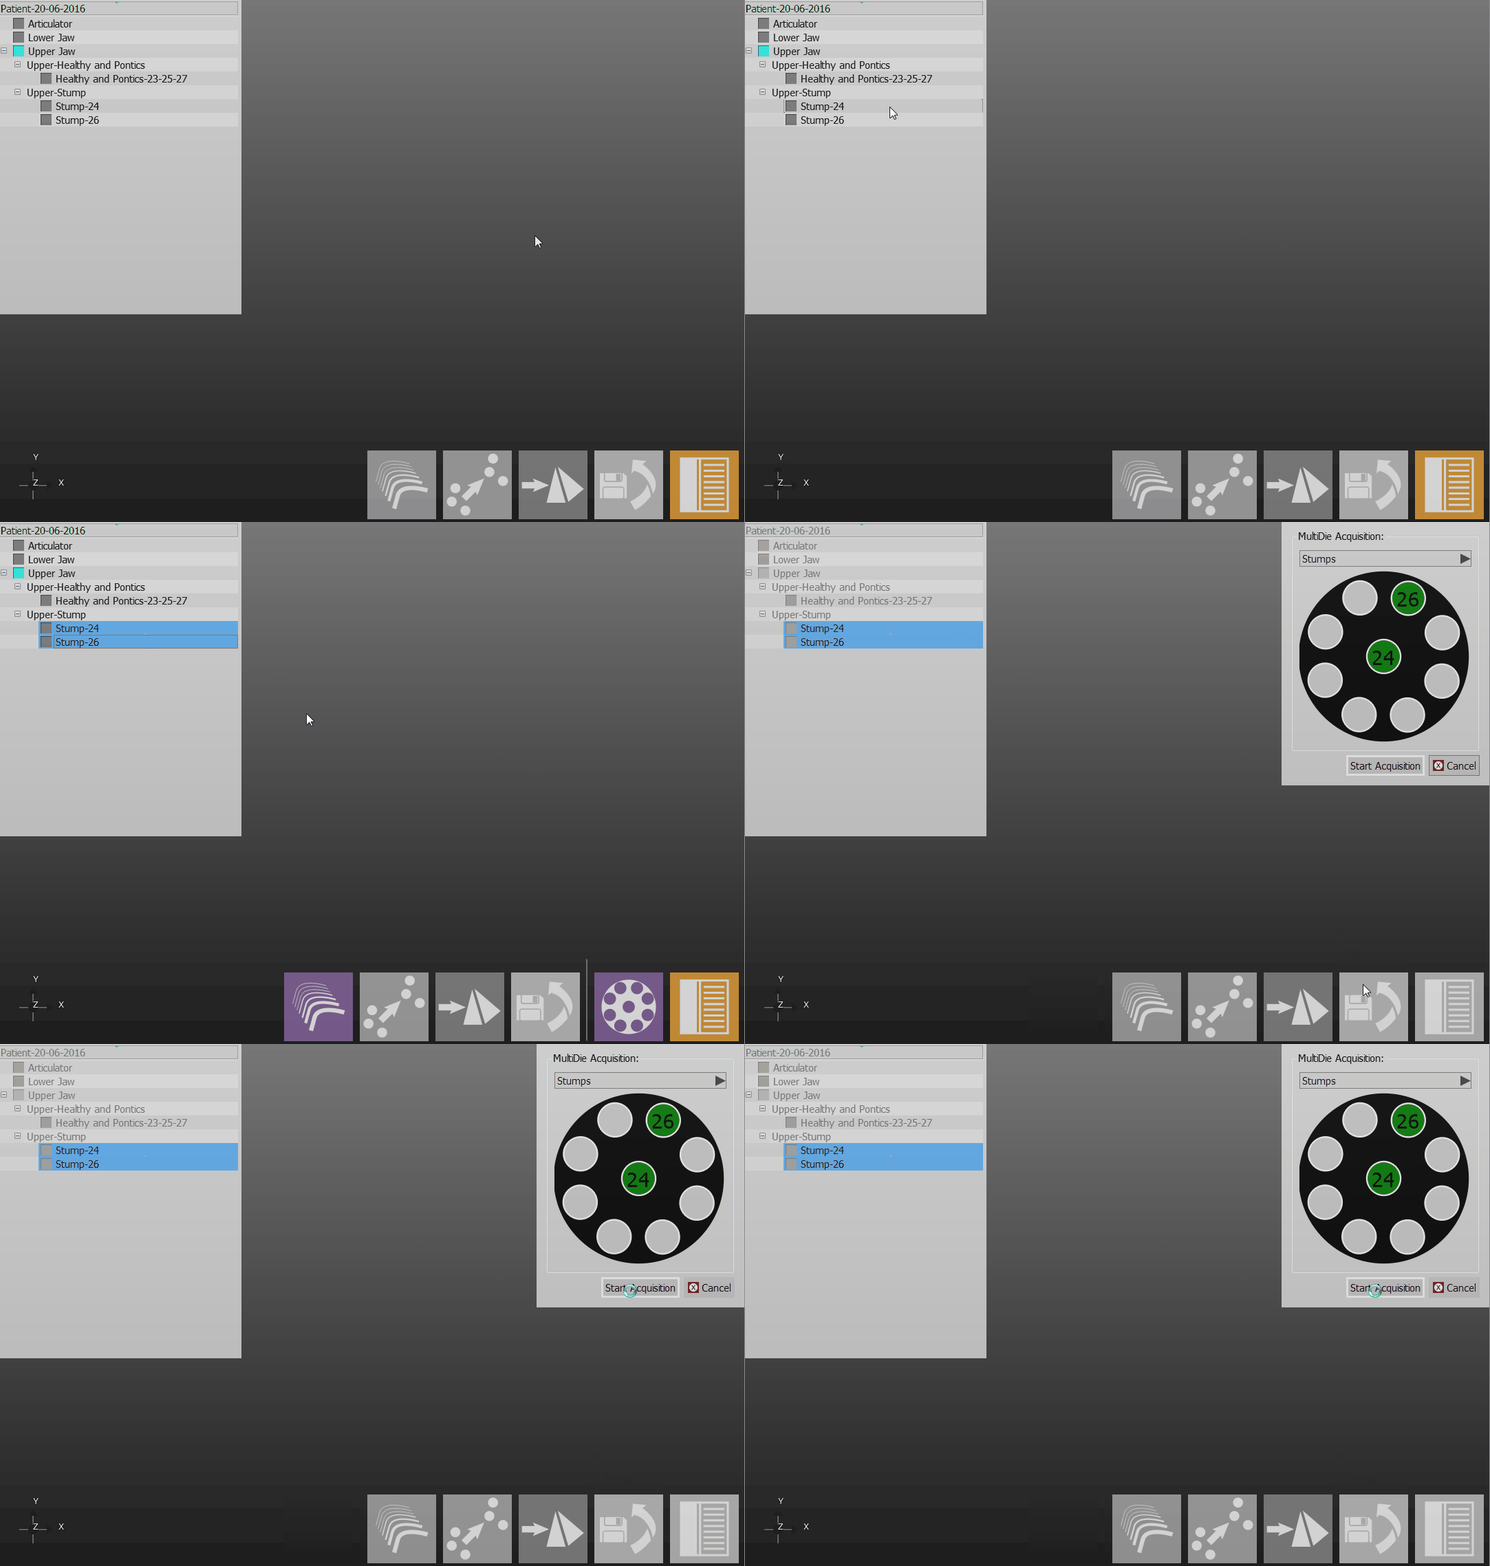
To acquire multiple dies in a single scan, even from both jaws at the same time, using the multi-die support:
- Select from the Project Tree all the dies to be scanned
- Click the Multi-Die Acquisition button that will appear on the Main Toolbar. At least 2 dies have to be selected in the Project Tree
- Put the dies in each space of the support, as shown by the software in the top right window, and put the Multi-Die support inside the scanner
- Click the Start Acquisition button
The scanner will acquire the data, identifying every single die and updating the status of the Project Tree
Single
To acquire a single 3D image, and not a 360° object reconstruction (for testing or to acquire a big articulation in a small scanner):
- Put the object inside the scanner, in the best possible way
- Use the Single Acquisition tool
The software will carry out a single acquisition without moving the motors system
Integration
After an object has been acquired in the scanner, there could be the need to add further information to the starting scan. For example, part of the object may be missing due to shadows or because the acquisition strategy has not covered a specific point of view.
In order to integrate additional information, use the Integrate Acquisition button on the Main Toolbar. This will launch the Integration Mode, providing 3 different integration tools. It is possible to switch from one tool to another. Confirm the modification with the Apply ![]() button or discard it with the Cancel
button or discard it with the Cancel ![]() button.
button.
It is possible to add an unlimited number of acquisitions but adding to much data could slow down the project and increase the project disk size.
Single
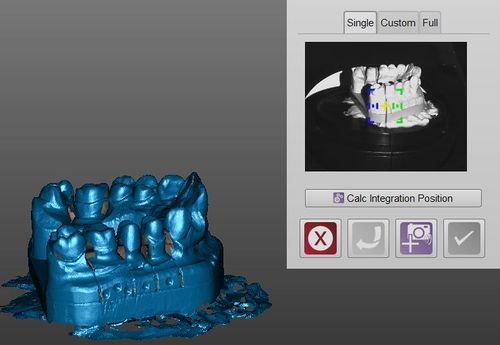
The single integration mode allows to add information from a specific point of view. To add information:
- Rotate the 3D view so that the screen will show exactly the part of the object to be integrated
- Click on the Start Integration
 icon
icon
If the last added acquisition is not good, useless or problematic, it is possible to remove it with the Undo ![]() button.
button.
If the object is not in the original scanning position, the software can not correctly integrate the information. It is possible to try to fix this problem using the Calc Integration Position button.
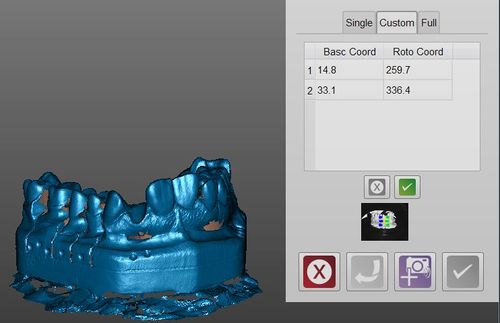
Custom
The Custom mode, instead of scanning one position at a time, allows to create a costumized sequence of positions and then the scanner will carry out all the acquisitions together.
To add a position:
- Rotate the 3D view so that the screen will show exactly the part to be integrated
- Click the Add Position
 button
To remove a position:
To start the scan, click the Start Integration ![]() button
button
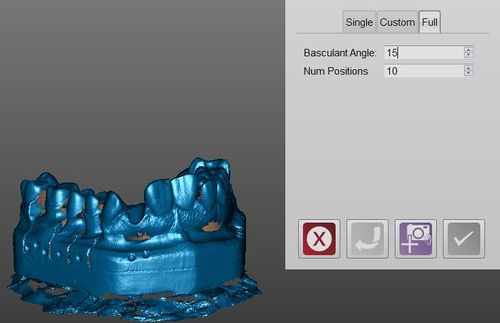
Full
The full integration is the easiest mode: it allows to select as many positions as needed and in which degree the plate must tilt to complete the image.
Then, by clicking the Start Integration ![]() button, the scanner will tilt the model and carry out a 360° acquisition using the selected number of positions.
button, the scanner will tilt the model and carry out a 360° acquisition using the selected number of positions.
Change Strategy
When the Project Tree is created, the software will select a specific strategy for every element, trying to maximize the scan quality and saving space. To change the strategy of an element of the project:
- Right click on the element in the project tree
- Select Change Strategy
- Select the new strategy from the dropdown menu
Another scan of the object will be carried out using the new strategy instead of the old one.
