Difference between revisions of "Man Acquisition"
(Created page with "<languages/> <translate> {{DISPLAYTITLE:Acquisition}} Acquiring data from the scanner and create a virtual 3D representation of an object is the primary function of the Optica...") |
(No difference)
|
Revision as of 15:23, 23 July 2015
Acquiring data from the scanner and create a virtual 3D representation of an object is the primary function of the OpticalRevEng Dental software.
If you're working using the Step-By-Step Wizard you can look at Wizard Acquisition page.
In a Structured Project outside of the wizard you have 3 way to acquire data from the scanner.
Simple Acquisition
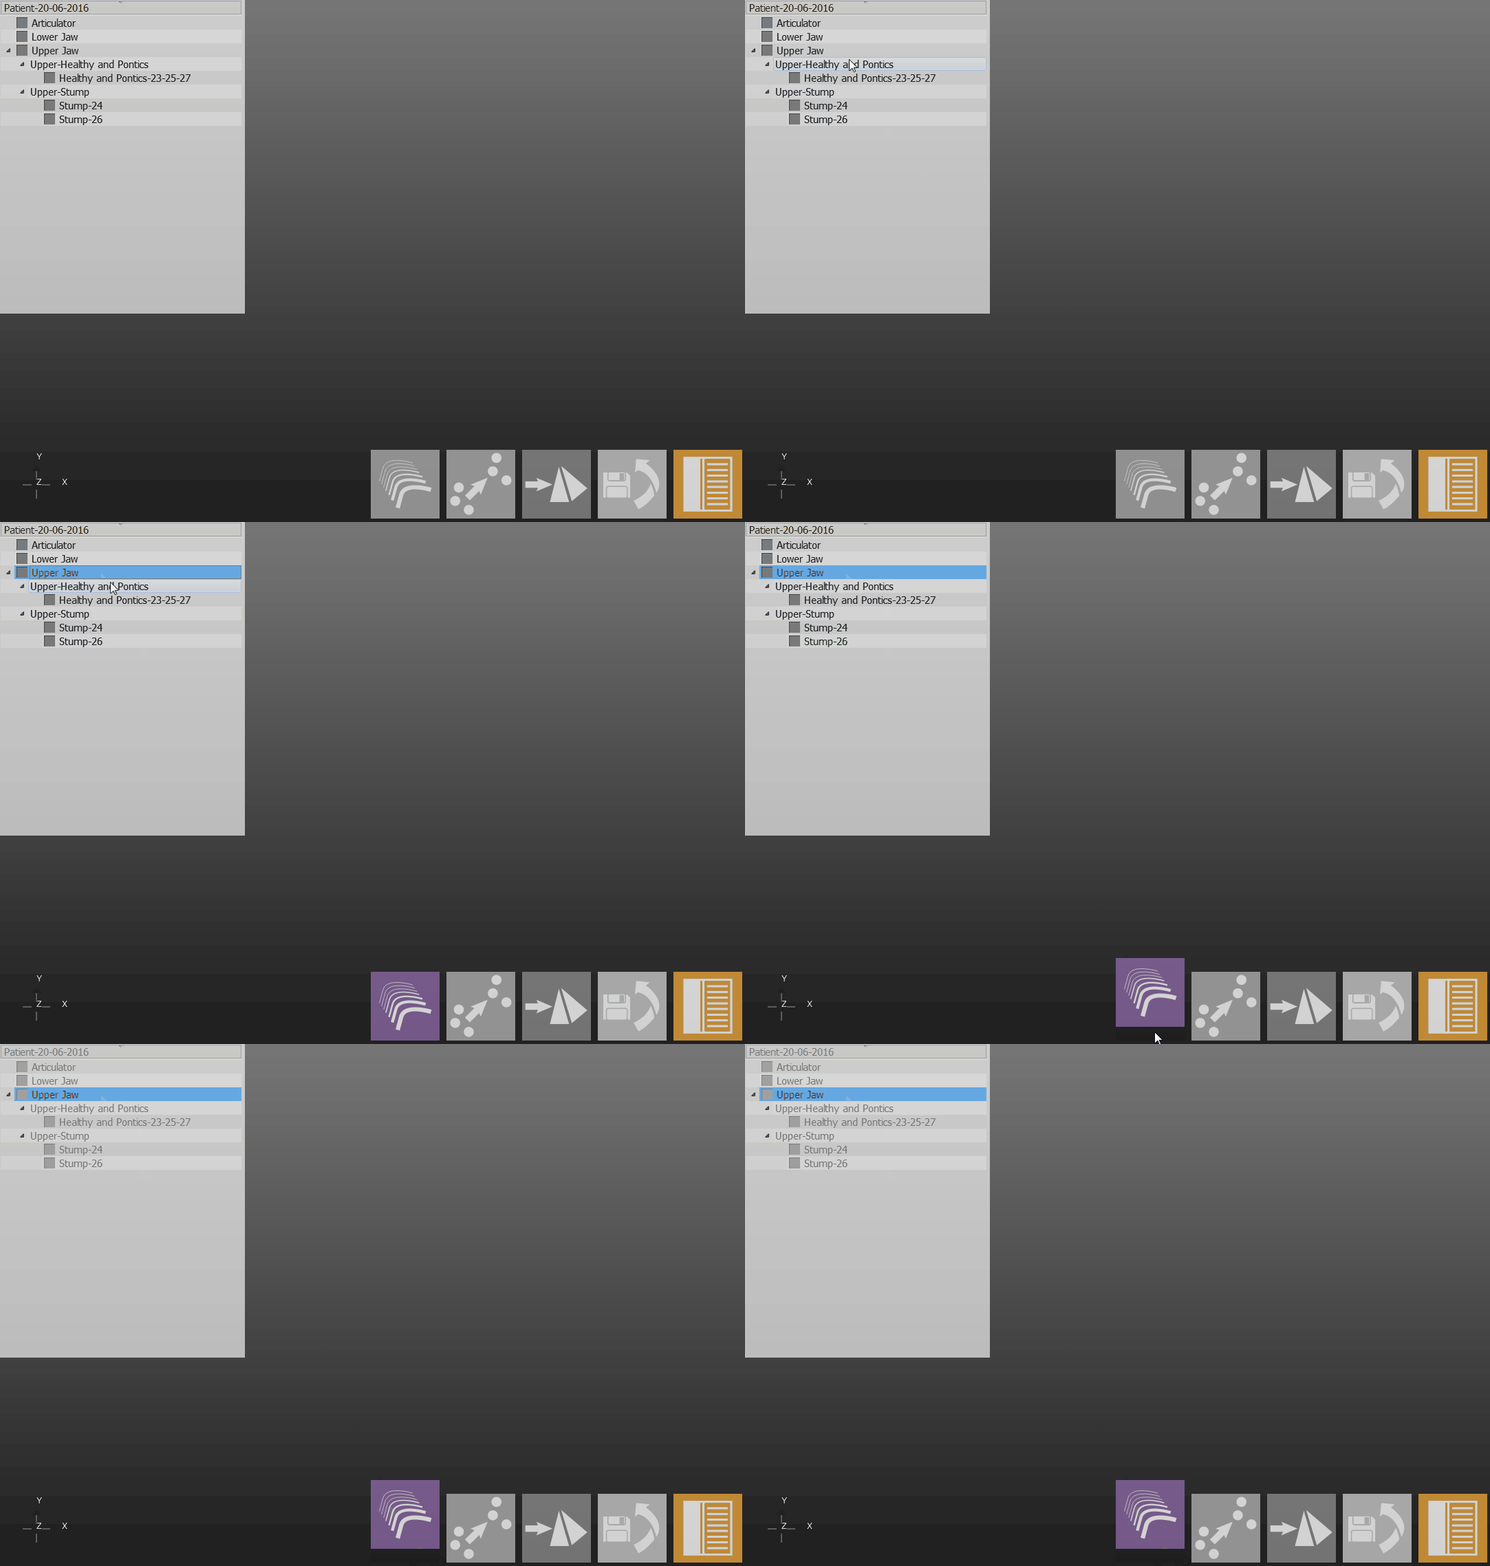
This is the most simple way to acquire data, and the one you'll use the most. You just have to:
- Put the object inside the scanner over the appropiate model holder
- Select the object you want to scan in the Project Tree
- Click the Acquisition button on the Main Toolbar
The scanner will then acquire the object inside with the strategy of the selected element and update the status of the Project Tree
Multi-Die Acquisition
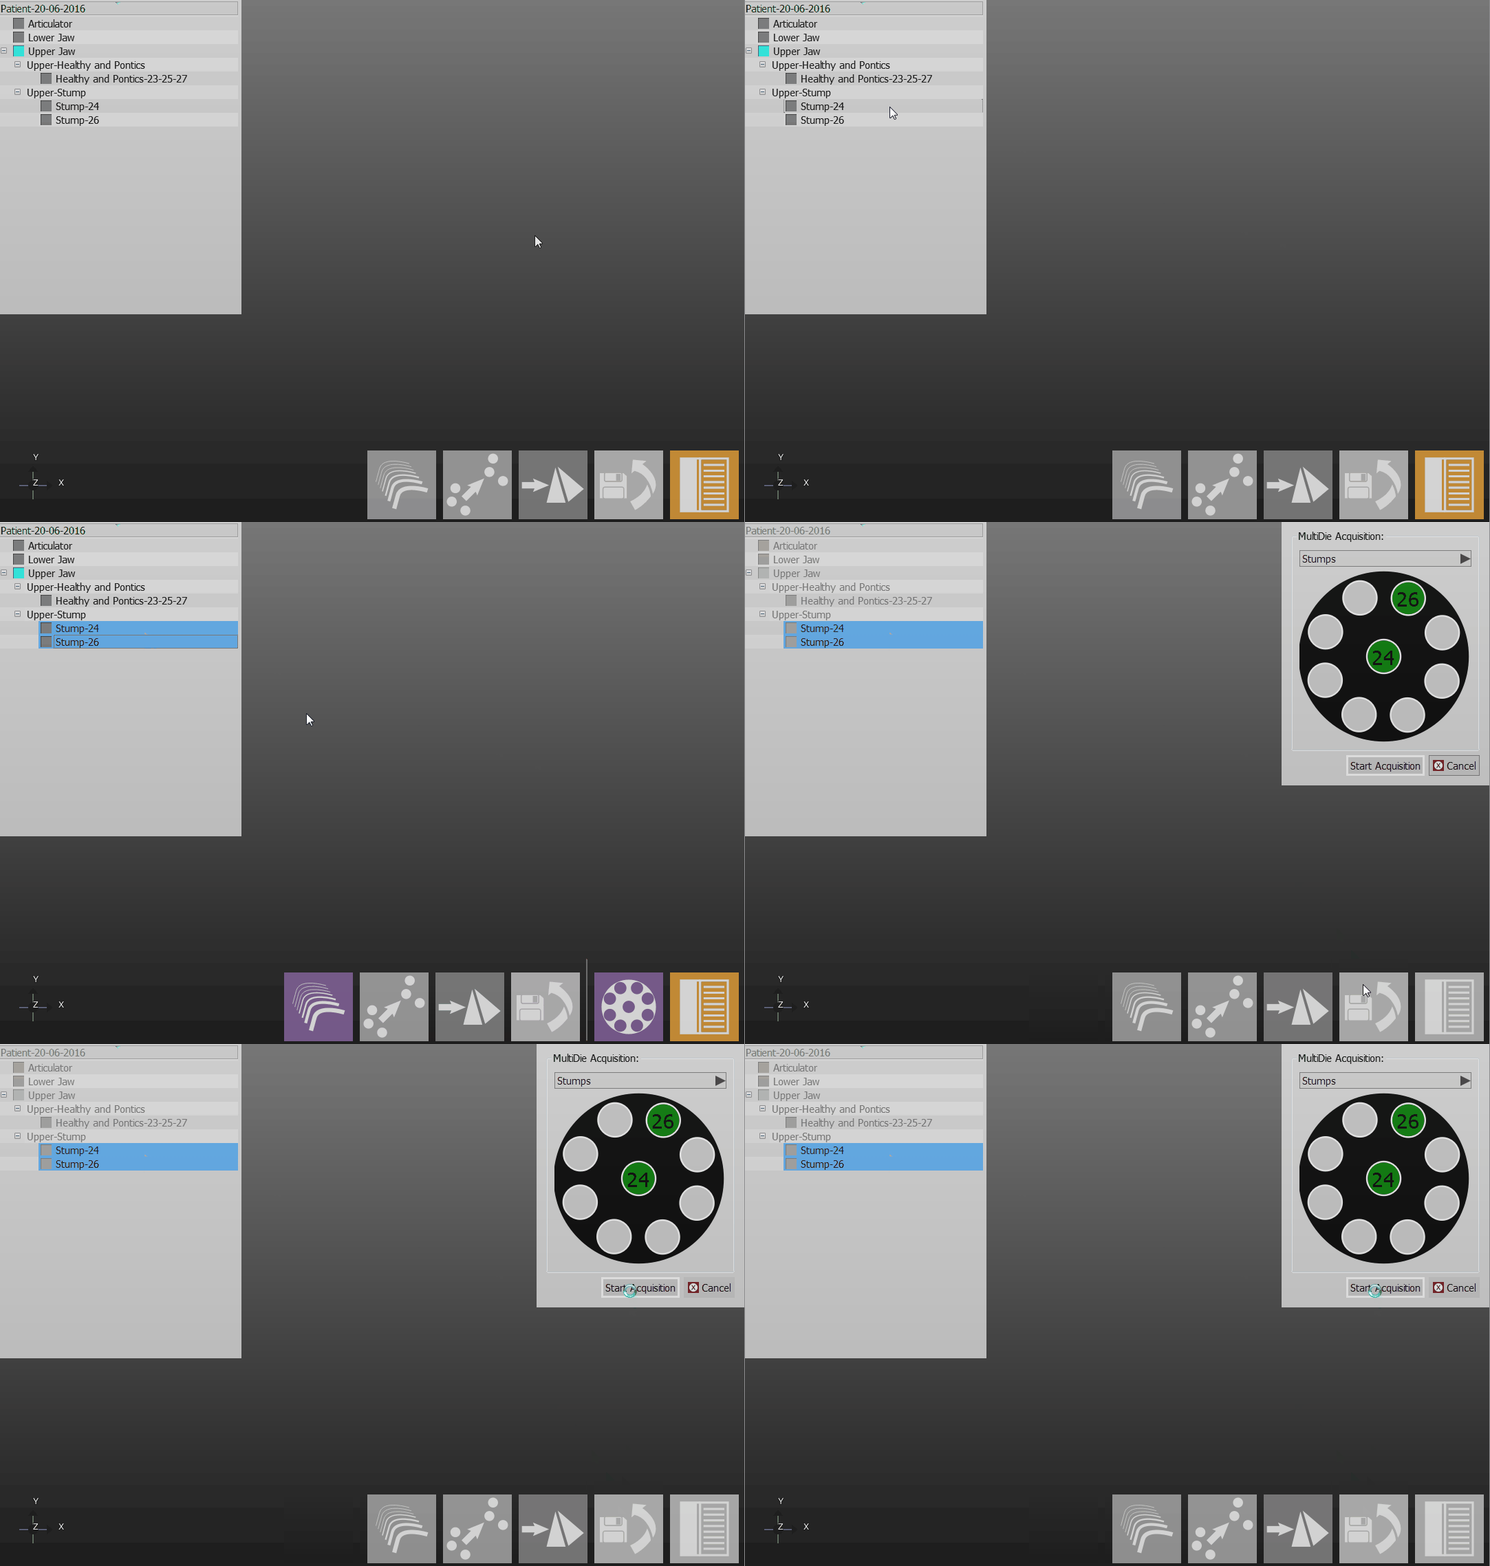
If you want to acquire multiple dies in one scan using the multi-die support holder yo have to:
- Select from the Project Tree all the dies you want to scan
- Click the Multi-Die Acquisition button that will appear on the Main Toolbar as soon as at least 2 dies are selected in the Project Tree
- Put the dies in the support as the software will show on the Top Right window and put the Multi-Die support inside the scanner
- Click the Start Acquisition button
The scanner will acquire the data, identify every single die and update the status of the Project Tree
Single Acquisition
If you need to acquire a single 3d image and not a 360° object recostruction (for test or to acquire a big articulation in a small scanner) you can:
- Put the object inside the scanner in the best way possible
- Use the Single Acquisition tool
The software will do a single acquisition without moving the manipulator
Change Strategy
When the Project Tree is created the software will select a specific strategy for every element in the project trying to maximize the scan quality and saving space. If you need to change the strategy for a specific element of the project you can:
- Right click on the element in the project tree
- Select Change Strategy
- Select the new strategy from the dropdown menù
If you scan again the object you'll see that the scanner will use the new strategy instead of the old one
Now that you know how to acquire data from the scanner you can return to the Main Page or continue to the Data Editing page

