Difference between revisions of "Wiz ManualCut"
| (2 intermediate revisions by 2 users not shown) | |||
| Line 1: | Line 1: | ||
| − | + | {{Language bar}} | |
| − | {{DISPLAYTITLE:Wizard Manual Cut}} | + | {{DISPLAYTITLE:Wizard Manual Cut|noerror}} |
<translate> | <translate> | ||
= Wizard Manual Cut = <!--T:1--> | = Wizard Manual Cut = <!--T:1--> | ||
| Line 8: | Line 8: | ||
<!--T:3--> | <!--T:3--> | ||
| − | The tools of this step are explained in the [[Man_DataEditing|Data Editing]] page | + | The tools of this step are explained in the [[Man_DataEditing|Data Editing]] page. |
<!--T:4--> | <!--T:4--> | ||
| − | + | {{Screenshot|dental_2_5_wizHealthyAutoCut.jpg}} | |
| − | |||
| − | |||
| − | |||
| − | |||
</translate> | </translate> | ||
| + | {{Navigation|Wiz_Align|Wiz_ProjectCheck}} | ||
Latest revision as of 07:18, 26 August 2016
Wizard Manual Cut
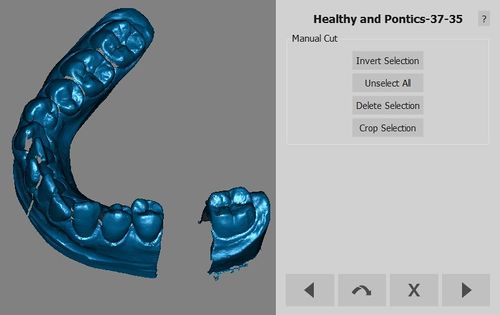
After an object is aligned to the rest of the project, it will be possible to cut away the unwanted parts.
The tools of this step are explained in the Data Editing page.


