Double Impression Project
Es posible escanear un caso de prótesis empleando dos impresiones en oposición gracias al soporte de una llave de oclusión, así como un bite vestibular o una impresión triple tray.
Empezar por OpticalRevEngDental
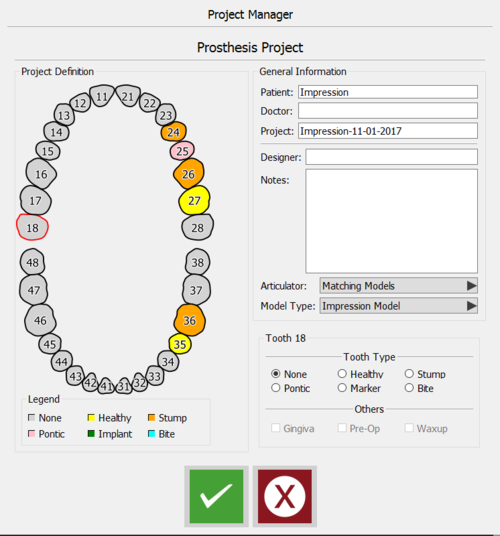
Para escanear un proyecto de prótesis empleando dos impresiones en oclusión directamente por el software, acceder a la Gestión de Proyecto y crear esta tipología de proyecto.
Hay solamente que elegir la "Impresión" en el menu Tipo de Modelo y aceptar cliqueando el botón verde.
Empezar por Exocad
Se puede acceder a esta tipología de wizard también configurando el caso en Exocad y definiendo el proyecto como siempre en Exocad's Dental DB.
Guardar el proyecto y cliquear el botón de escaneado. Esto lanzará la Procedura Guíada del Software de Escáner.
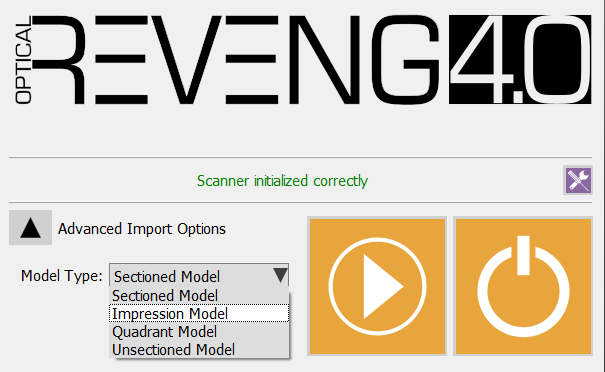
En la pantalla de inicio seleccionar Opciones Avanzadas de Importación y después, en el menu despegable, Modelo de Impresión.
Aceptando tu opción cliquear el botón de empiezo, y el software empezará el wizard scan para escanear dos impresiones y su occlusal key.
Scan Procedure
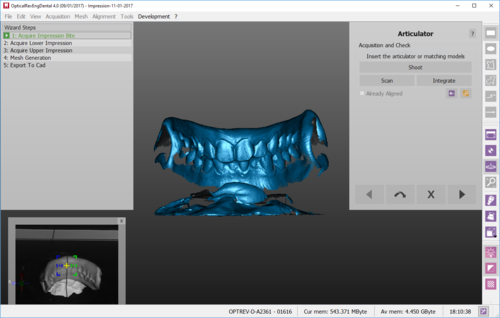
La primera importación requerida por el software es la occlusal key. Poner el objeto, que sea un triple tray o un bite vestibular, en una posición que le permita la adquisición tanto de la arcada superior como de la arcada inferior.
In our example case, a vestibular bite has been used.
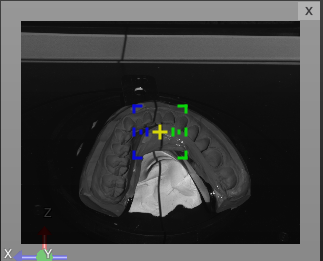
El software pidirá entonces al usuario de escanear la Impresión Inferior. Poner el modelo en el escáner, como ilustrado en la imágen a continuación, luego hacer click en Escanear para empezar la adquisición.
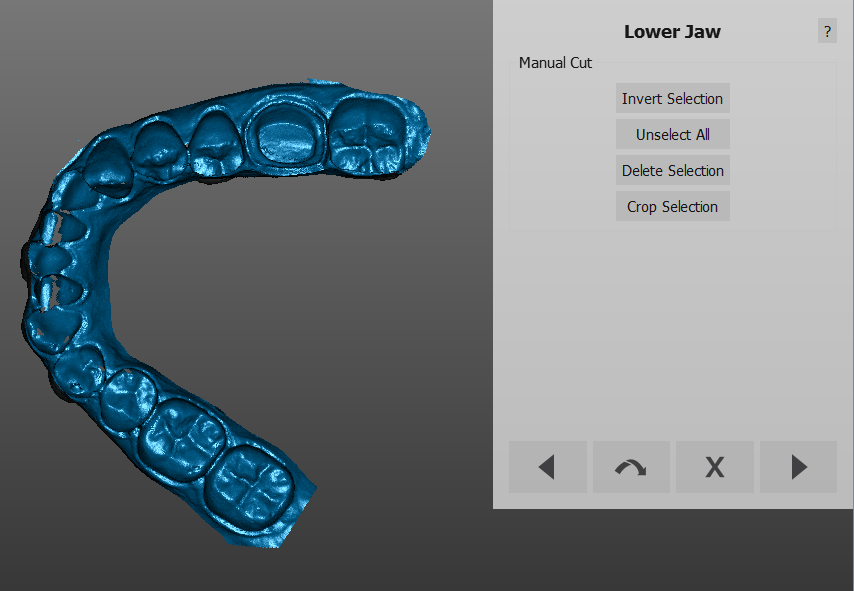
Once the impression has been scanned, click next and cut the model base, taking care not to cut part of the teeth as well. The selected part will be, as always, automatically removed.
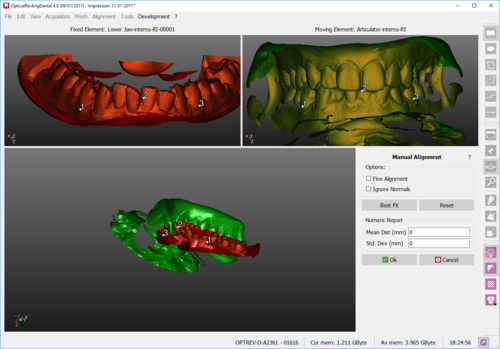
Right after the Cut Height step, the impression will be aligned with the occlusion. It is possible that the automatic alignment fails, being the objects two impression. A Manual Alignment step will be automatically presented by the software. Carefully choose the common area between the impression and the occlusal key.
Then click Best Fit, accept with OK if the alignment is good or remake the alignment clicking on Reset.
Once it has been aligned, clean the image as much as possible.
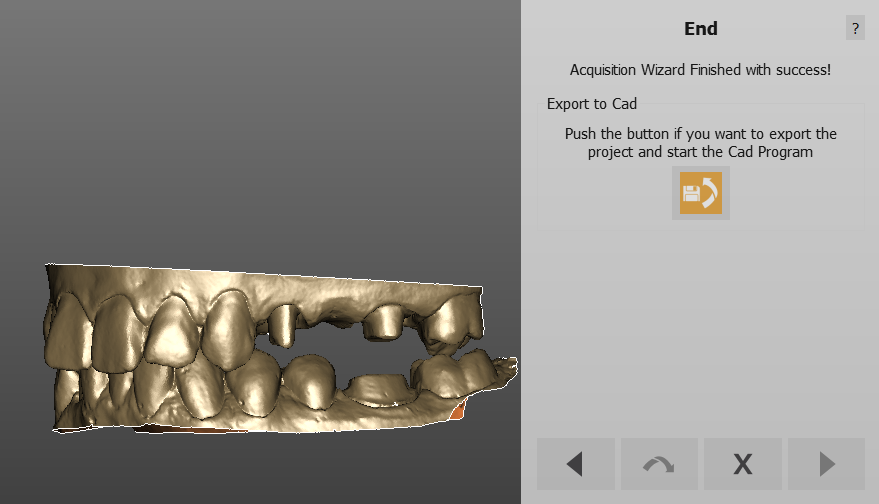
Repeat this process for the upper jaw and follow the steps until the final acquisition check. If the occlusion is correct, click next to generate the meshes.
