Double Impression Project
Este posibil să se scaneze cazuri de amprente : două amprente în antagonist cu ajutorul unei chei de ocluzale,sau cu muscătura vestibulară sau o amprentă triplă.
Pornind de la OpticalRevEng Dental
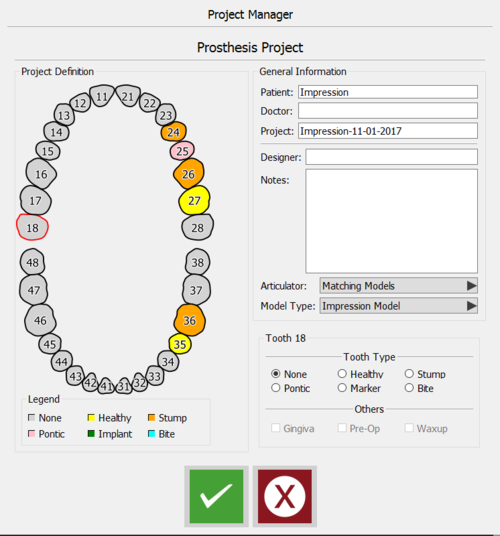
Pentru a scana un proiect utilizând două amprente în antogonist accesați direct din scanarea Software-ului, Project Manager și creați acest tip de proiect:
Nu uitați să selectați Impression Model din meniul derulant Model Type și acceptați cu butonul verde.
Starting From Exocad
Este, de asemenea, posibil să accesați Wizard care să stabilească cazul în Exocad. Doar definiți proiectul ca de obicei în Exocad's Dental DB.
Save the project and click on the scan button. This will launch the Scan Software's Guided Procedure.
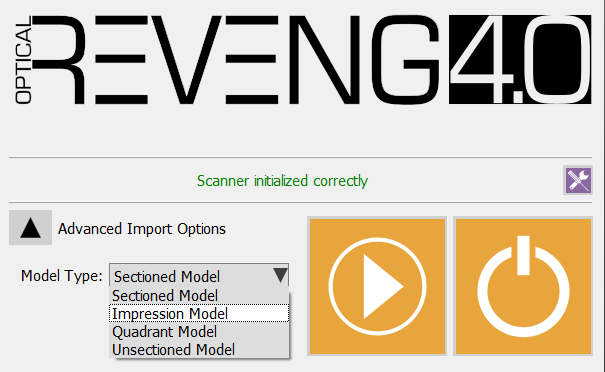
In the splash screen select Advanced Import Options and, in the Model Type drop down menu, Impression Model.
Accept your choice clicking on the start button, and the software will present the scan wizard for scanning two impressions and their occlusal key.
Scan Procedure
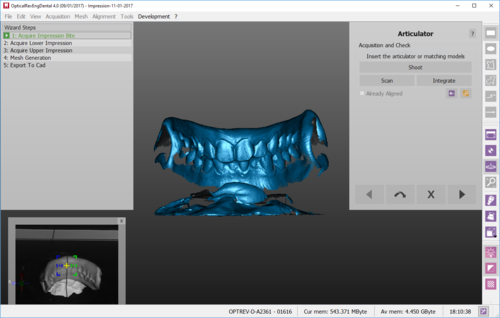
The first scan the software requires is the occlusal key. Place the object, either a triple tray or a vestibular bite, in a position that would allow to get details of both upper and lower jaw.
In our example case, a vestibular bite has been used.
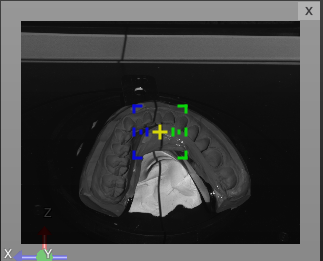
The software will then ask the user to scan the Lower Impression. Place the impression in the scanner, as described in the following picture, then click scan to start the acquisition.
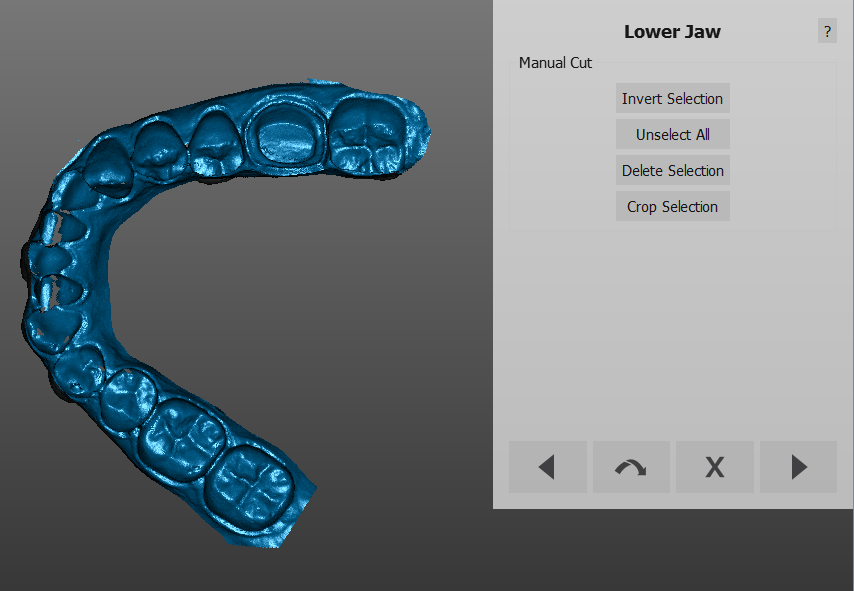
Once the impression has been scanned, click next and cut the model base, taking care not to cut part of the teeth as well. The selected part will be, as always, automatically removed.
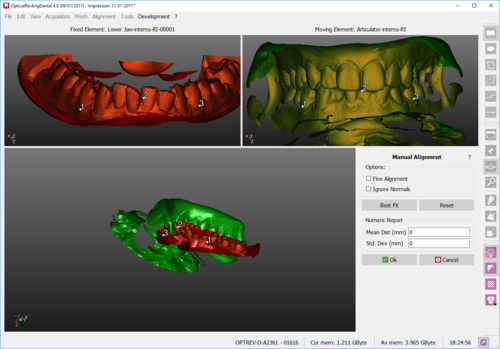
Right after the Cut Height step, the impression will be aligned with the occlusion. It is possible that the automatic alignment fails, being the objects two impression. A Manual Alignment step will be automatically presented by the software. Carefully choose the common area between the impression and the occlusal key.
Then click Best Fit, accept with OK if the alignment is good or remake the alignment clicking on Reset.
Once it has been aligned, clean the image as much as possible.
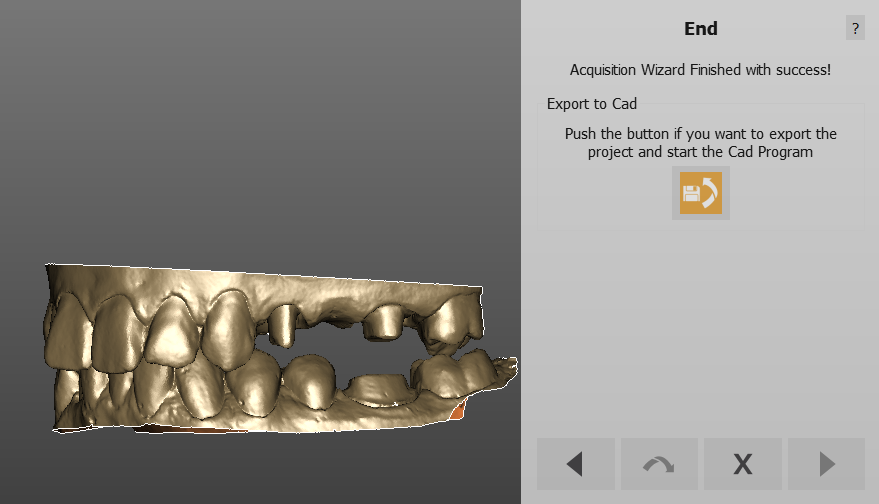
Repeat this process for the upper jaw and follow the steps until the final acquisition check. If the occlusion is correct, click next to generate the meshes.
