Difference between revisions of "Wiz ConceptQuad"
(Created page with "{{Language bar}} {{DISPLAYTITLE:Concept Quad Module|noerror}} <translate> = Concept Quad Module = When enabled in the license, this module allows to scan a project on quadra...") |
(No difference)
|
Revision as of 15:27, 4 February 2016
Contents
Concept Quad Module
When enabled in the license, this module allows to scan a project on quadrant-type models in just two steps. The working procedure is very straightforward, completely automatic and fully guided.
=Starting from OpticalRevEng Dental
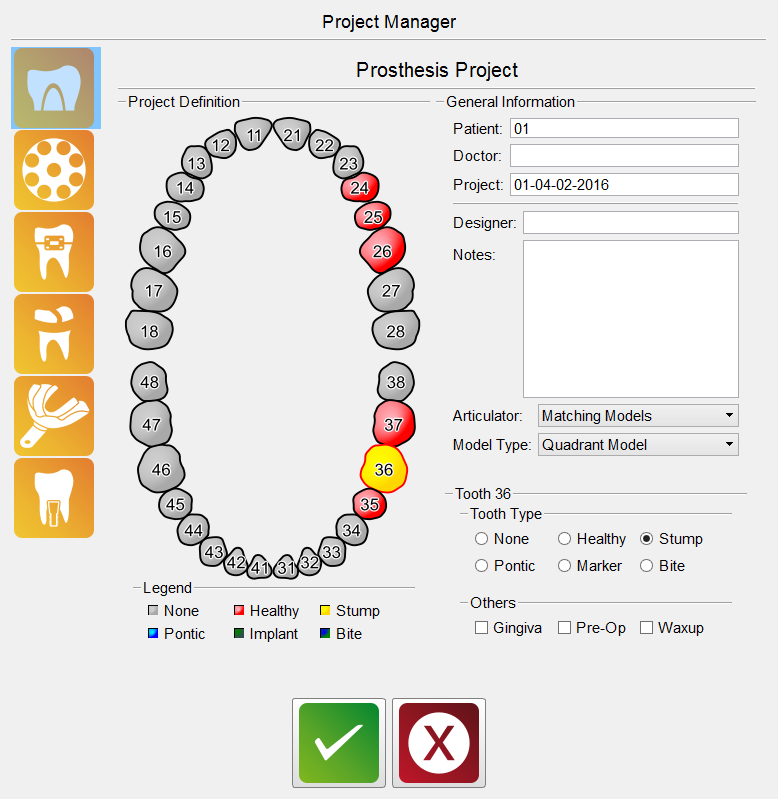
To scan a project using the Concept Quad Module directly from the scanning Software, access the Project Manager and create this type of project:
Just remeber to select the Quandrant Model in the drop down menu Model Type and accept with the green button.
Starting From Exocad
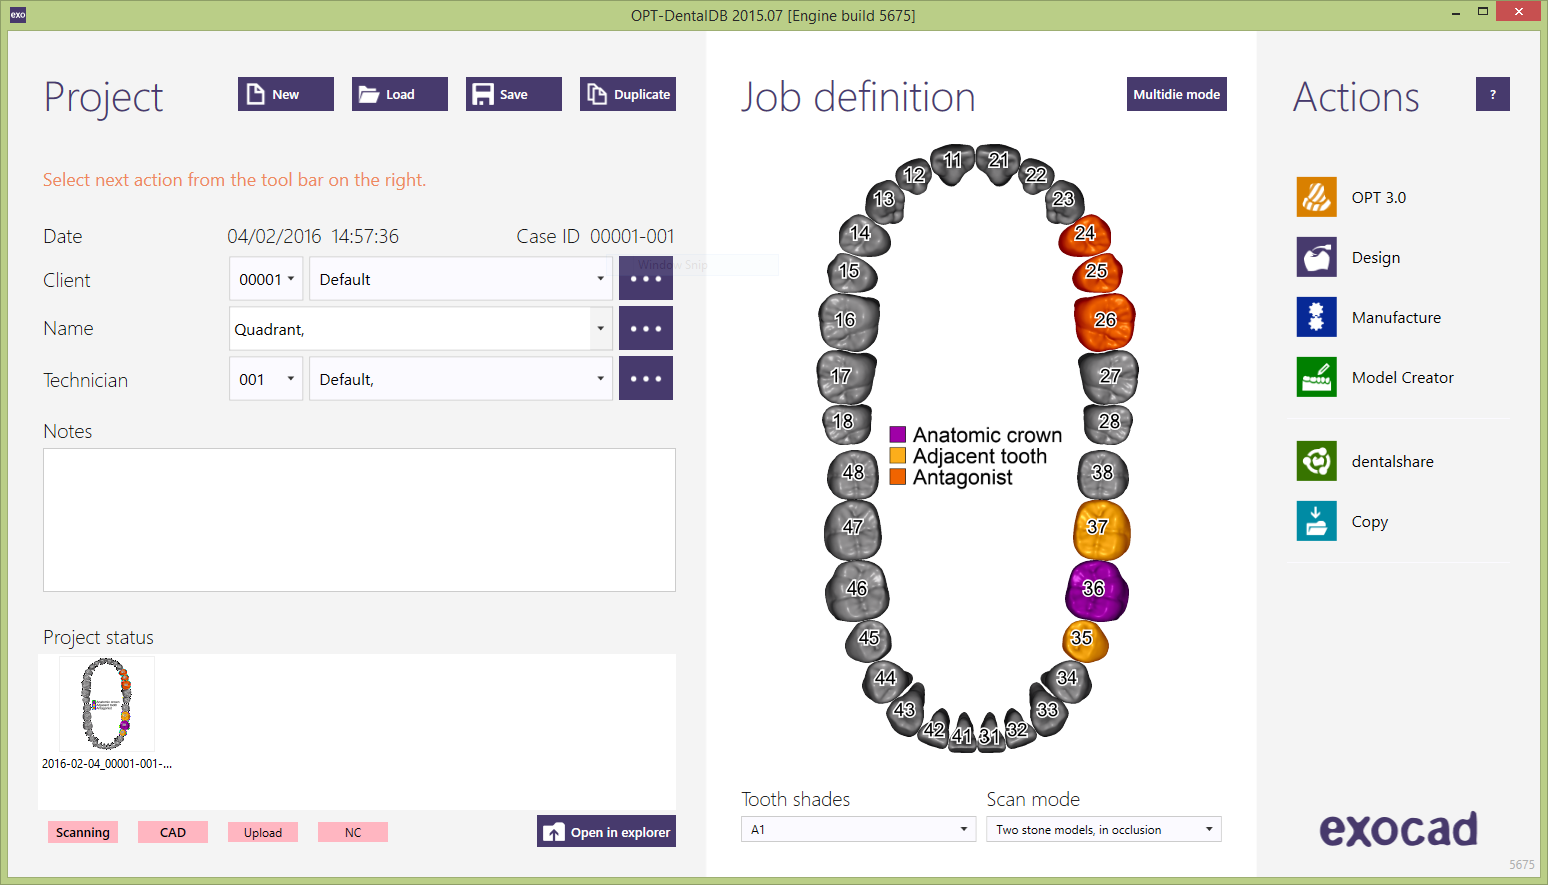
It is possible to use this type of scan wizard starting from Exocad as well. Just define the project as usual in Exocad's Dental DB.
Save the project nad click on the scan button. This will launch the Scan Software's Guided Procedure.
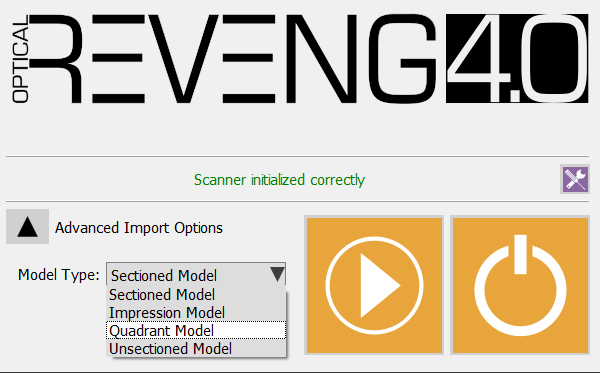
In the splash screen select Advancec import option and, in the Model Type drop down menu Quandrant Model.
Accept your choice clicking on the start button, and the software will present the scan wizard for the Concept Quad Module.
Scan Procedure
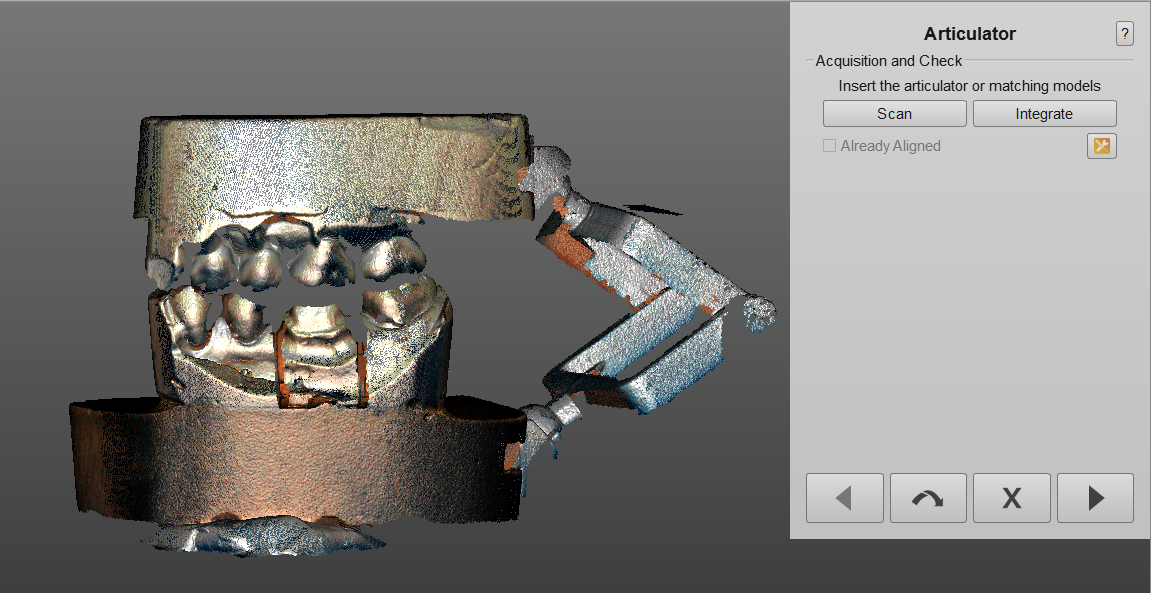
The first scan the software requires is the occlusion. Differently from the other articulators strategies, the Concept Quad takes 6 images of the occlusion with a low tilting.
It is possible to just place the models on the plate facing the cameras, making sure they are stable enough and that they won't move during the scan.
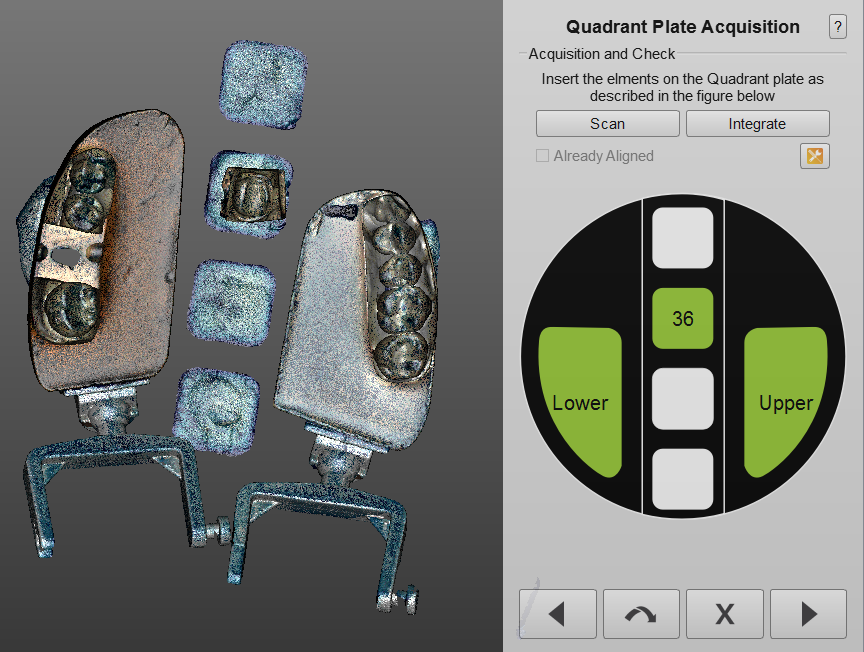
The software will present a step for editing the articulation image, and will afterwards require to scan the individual elements on the Concept Quad Model Holder, describing how to position the elements.
Once this scan is performed, the elements have been all sucessufully acquired, and the user doesn't need to scan furtherly.
Follows a step to cut the height of the model, after which the individual elements will be aligned to the articulation image.
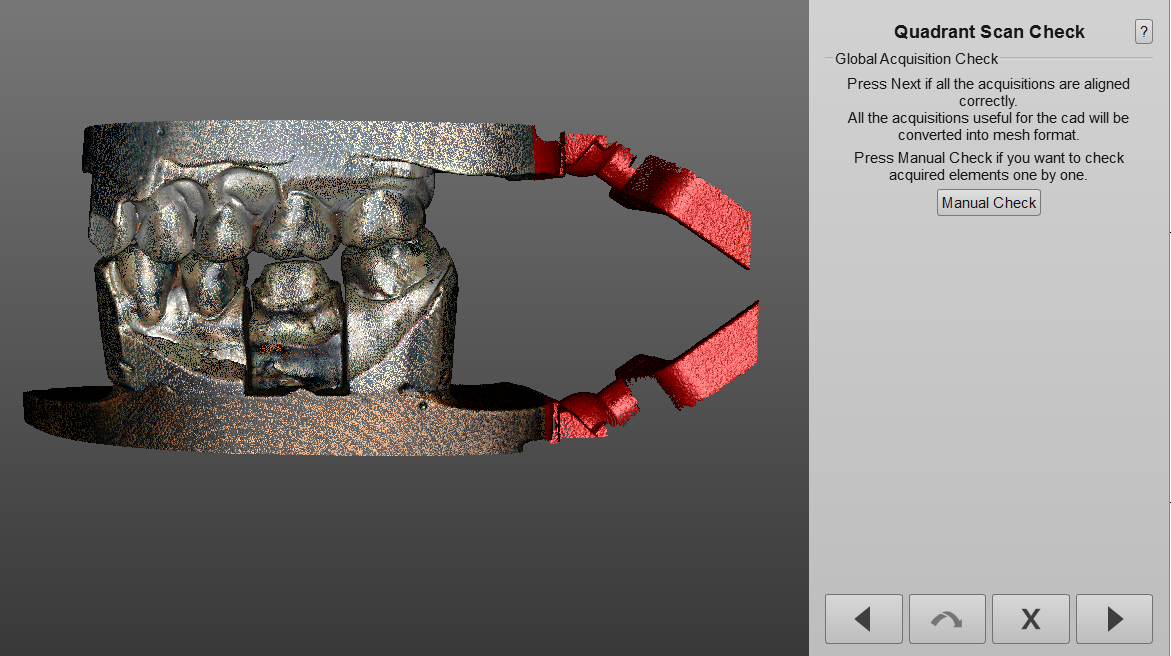
At this point the project is ready to be meshed, still the software offers the chance to edit the images or to manually check all the individual elements just by clicking on Manual Check.
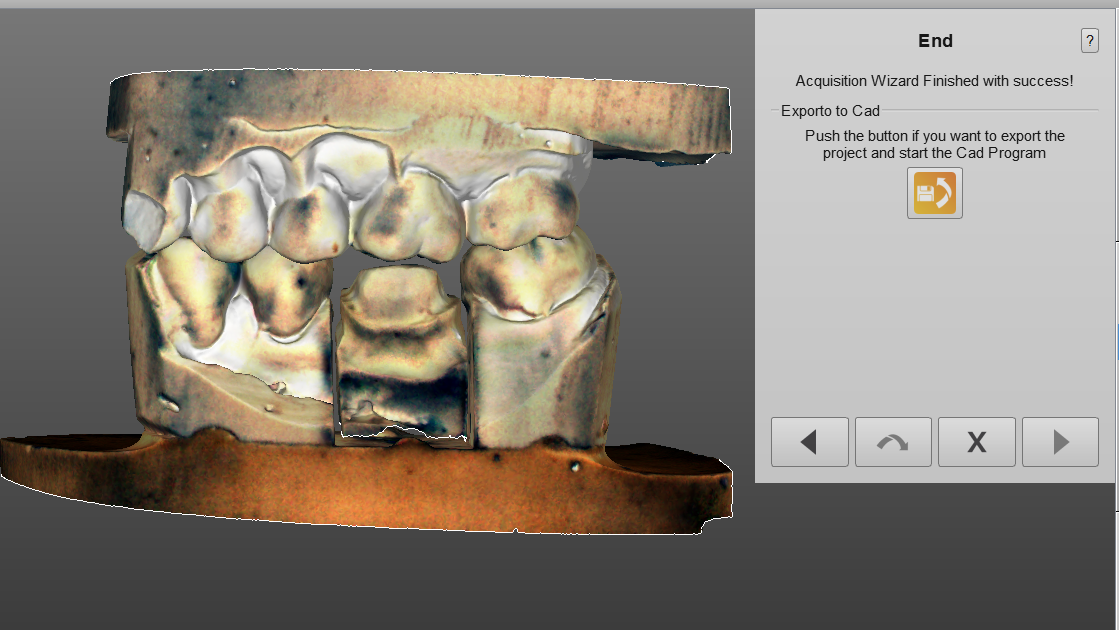
If the user thinks there is no need to check the lements, simply by clicking Next the elemnts will be meshed and ready to be exported.
