Difference between revisions of "Wiz ConceptQuad/ru"
Trubnikova (talk | contribs) |
Trubnikova (talk | contribs) (Created page with "Во всплывающем окне выбрать Дополнительные опции импорта и в выпадающем меню '''Тип модели''' выб...") |
||
| Line 22: | Line 22: | ||
Сохранить проект и нажать на кнопку сканирования. Это запустит процедуру программы сканирования. | Сохранить проект и нажать на кнопку сканирования. Это запустит процедуру программы сканирования. | ||
| − | + | Во всплывающем окне выбрать Дополнительные опции импорта и в выпадающем меню '''Тип модели''' выбрать ''Модель квадранта''. | |
[[File:SplashExoQ.PNG]] | [[File:SplashExoQ.PNG]] | ||
Revision as of 18:33, 5 March 2016
Contents
Режим Concept Quad
Доступный только по лицензии, этот режим позволяет сканировать половину дуги в два этапа. Процесс работы предельно простой, полностью автоматический и управляемый.
Начиная с OpticalRevEng Dental
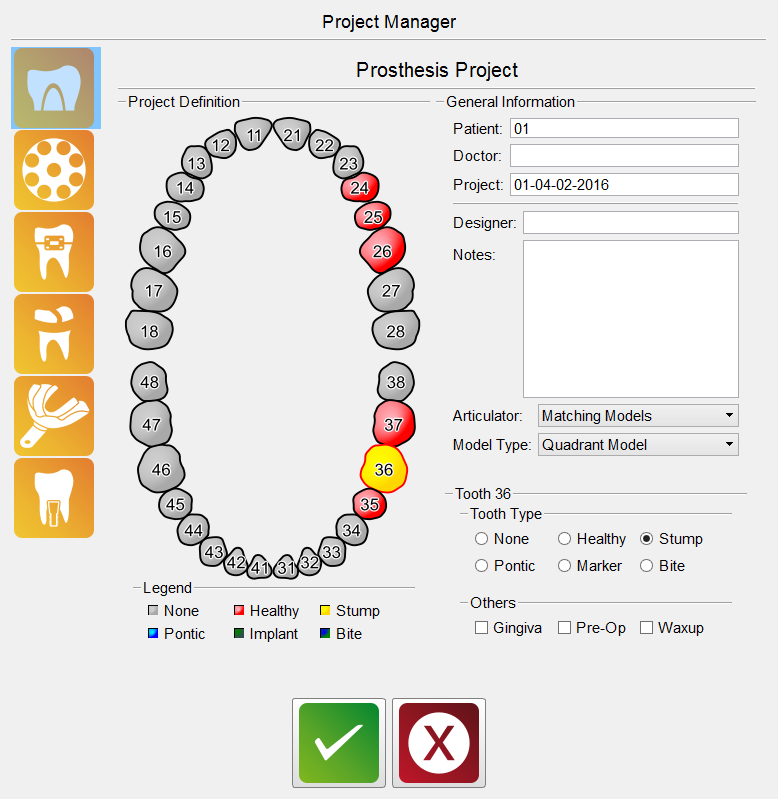
Для сканирования проекта в режиме Concept Quad напрямую через программу сканирования, необходимо подключиться к опциям Менеджера проекта и создать следующую конфигурацию:
Для этого необходимо выбрать Модель квадрант в выпадающем меню Тип модели при нажатии зеленой кнопки.
Начиная с Exocad
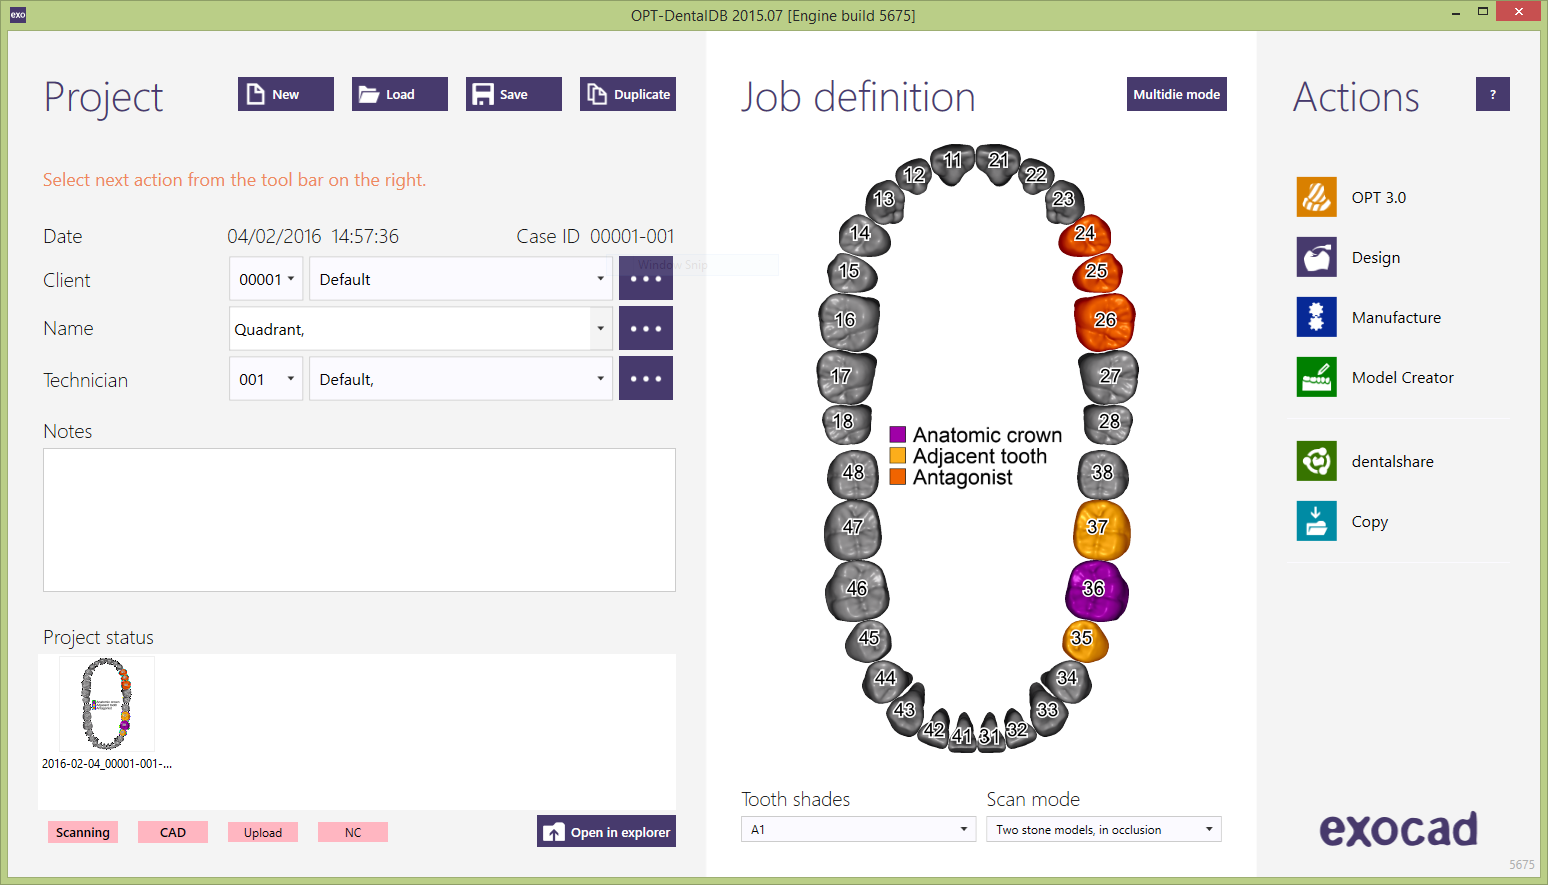
Можно использовать этот тип сканирования при работе в Exocad. Как и в других случаях, необходимо определить проект в Dental DB.
Сохранить проект и нажать на кнопку сканирования. Это запустит процедуру программы сканирования.
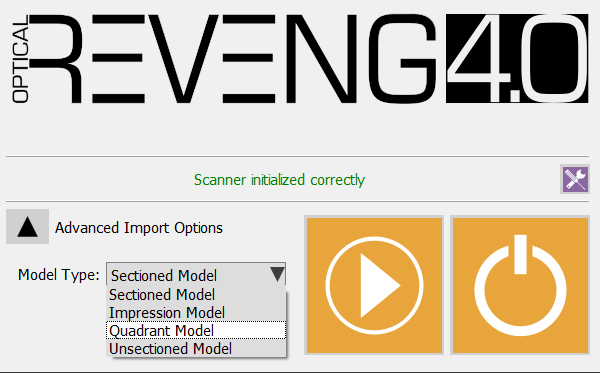
Во всплывающем окне выбрать Дополнительные опции импорта и в выпадающем меню Тип модели выбрать Модель квадранта.
Accept your choice clicking on the start button, and the software will present the scan wizard for the Concept Quad Module.
Scan Procedure
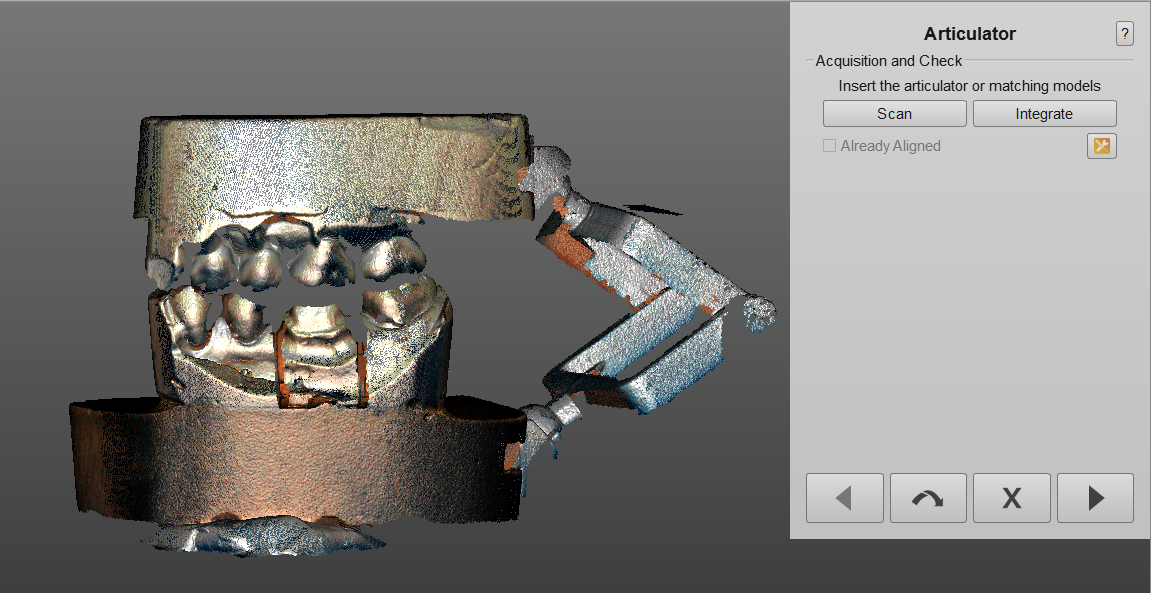
The first scan the software requires is the occlusion. Differently from the other articulators strategies, the Concept Quad takes 6 images of the occlusion with a low tilting.
It is possible to just place the models on the plate facing the cameras, making sure they are stable enough and that they won't move during the scan.
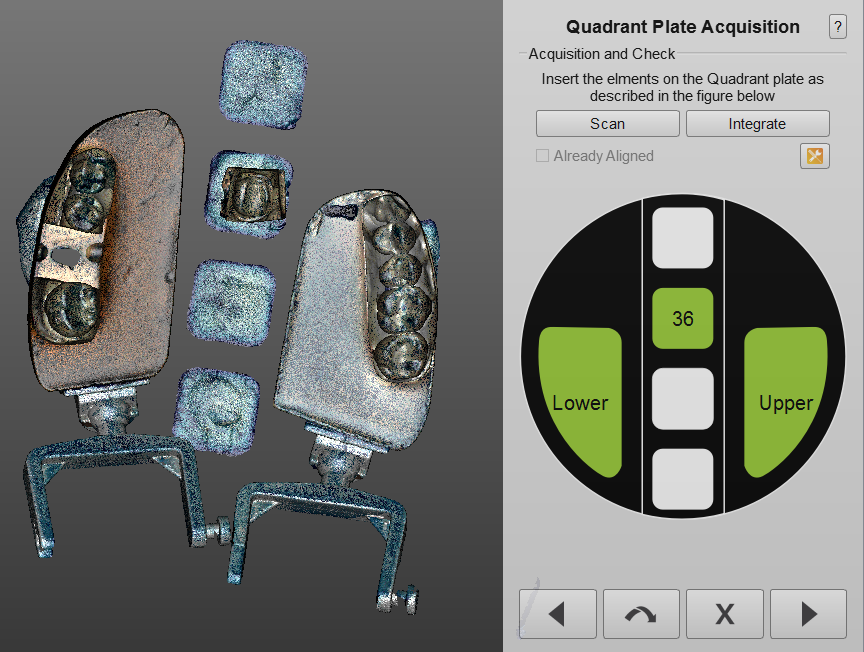
The software will present a step for editing the articulation image, and will afterwards require to scan the individual elements on the Concept Quad Model Holder, describing how to position the elements.
Once this scan is performed, the elements have been all sucessufully acquired, and the user doesn't need to scan furtherly.
Follows a step to cut the height of the model, after which the individual elements will be aligned to the articulation image.
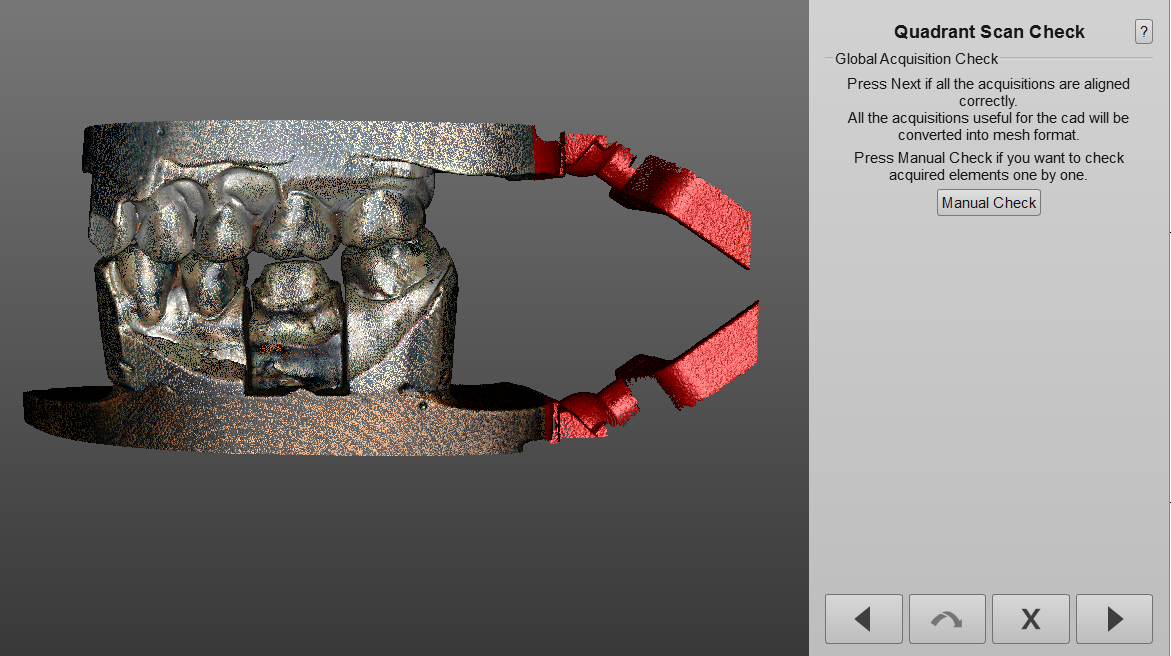
At this point the project is ready to be meshed, still the software offers the chance to edit the images or to manually check all the individual elements just by clicking on Manual Check.
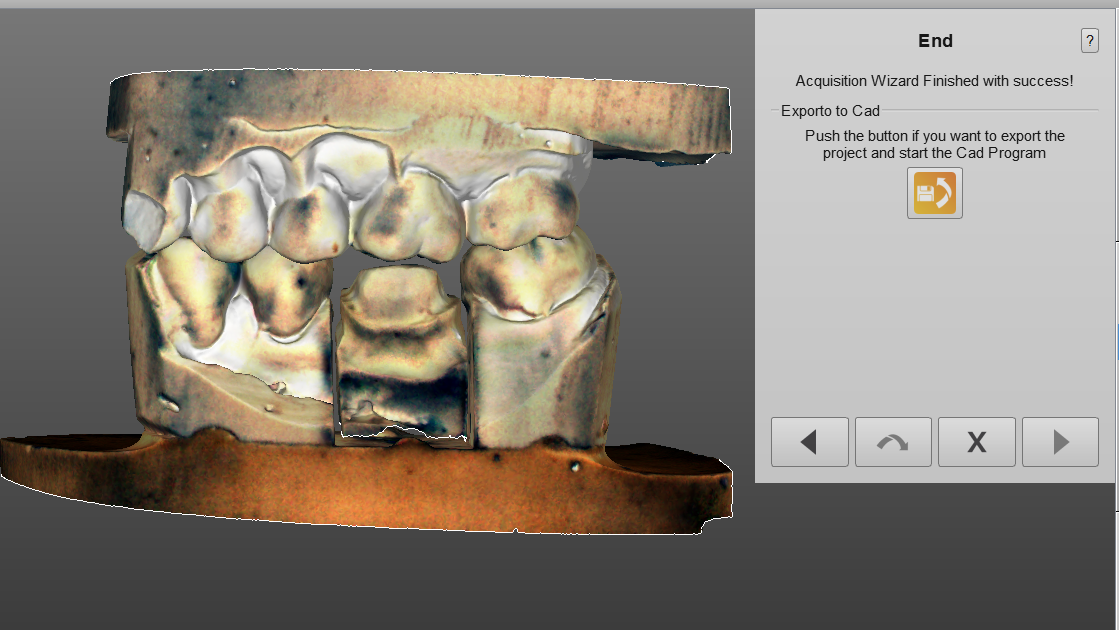
If the user thinks there is no need to check the elements, simply by clicking Next the scans will be meshed and ready to be exported.
