Difference between revisions of "Wiz ConceptQuad/zh-hant"
Democenter (talk | contribs) (Created page with "==從Exocad開始==") |
Democenter (talk | contribs) (Created page with "它可以從Exocad開始使用這種類型的掃描嚮導.只要在Exocad的Dental DB中照常定義專案。") |
||
| Line 16: | Line 16: | ||
==從Exocad開始== | ==從Exocad開始== | ||
| − | + | 它可以從Exocad開始使用這種類型的掃描嚮導.只要在Exocad的Dental DB中照常定義專案。 | |
[[File:ProjExo.PNG]] | [[File:ProjExo.PNG]] | ||
Revision as of 14:55, 14 June 2016
單側咬模模組
當許可證啟用,此模塊允許在短短的兩個步驟內掃描單側咬模專案.工作過程是非常簡單的,完全自動化的全面指導。
從OpticalRevEng Dental 開始
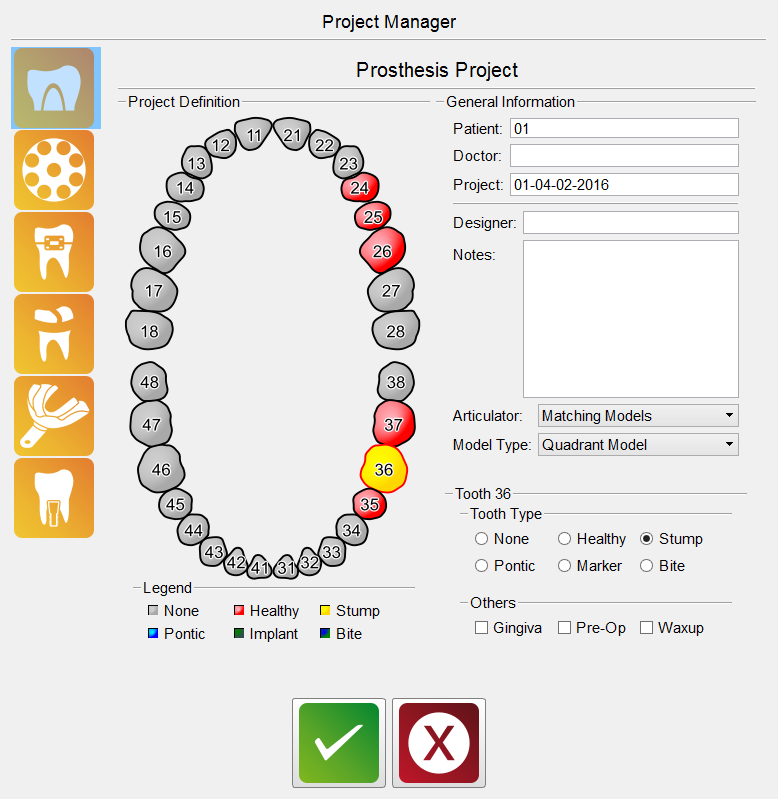
要從掃描軟體專案掃描直接使用單側咬模模組,訪問專案管理員並創建這種類型的專案:
只要記住在模型類型 的下拉選單選擇"單側咬模"與接受綠色的按鈕.
從Exocad開始
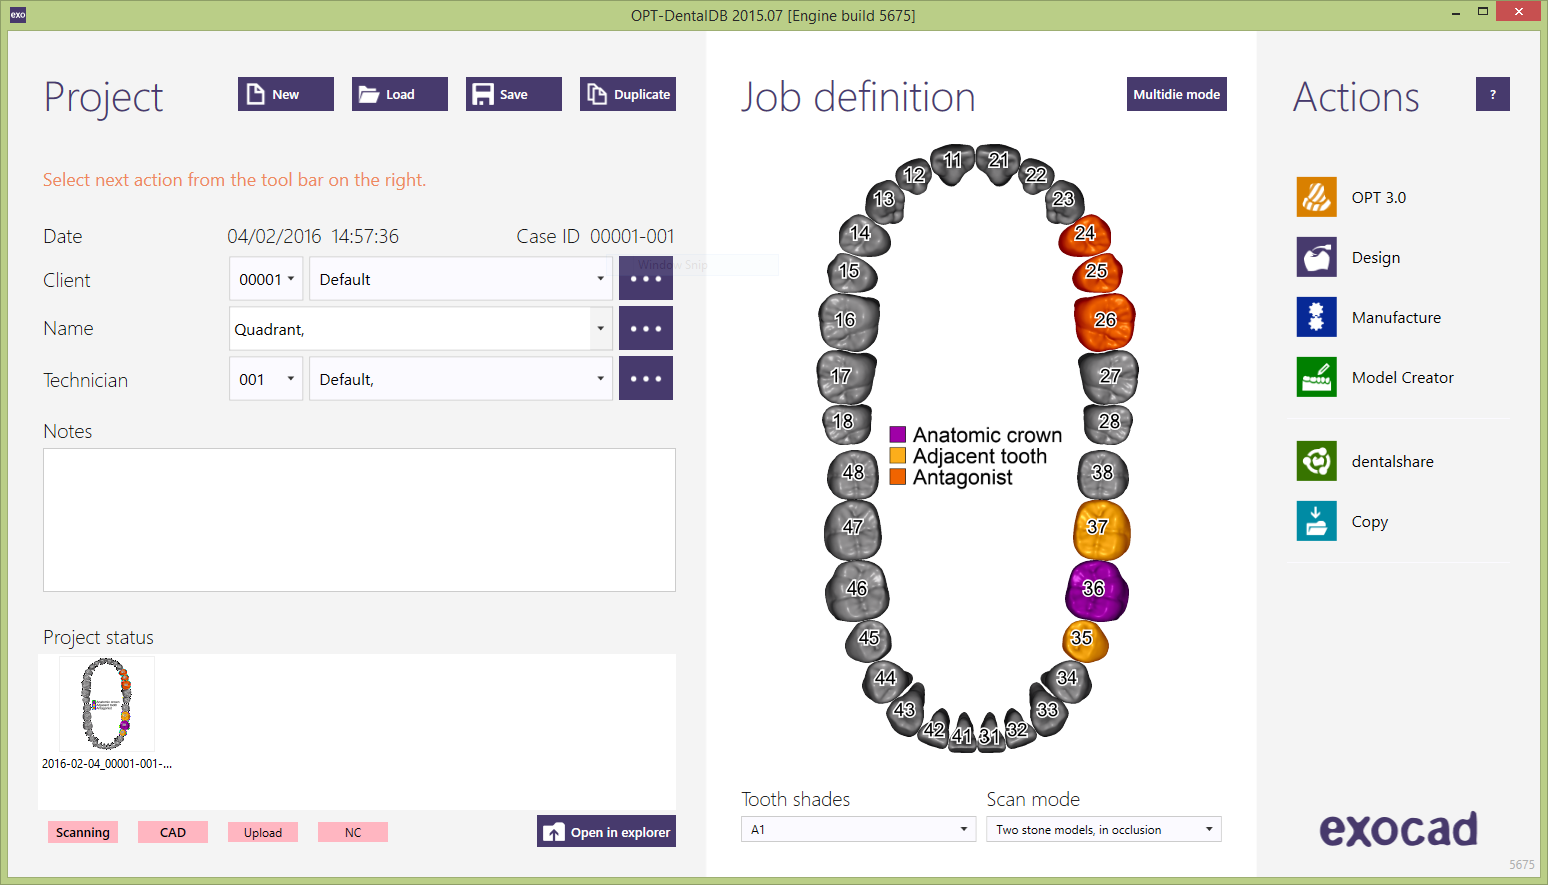
它可以從Exocad開始使用這種類型的掃描嚮導.只要在Exocad的Dental DB中照常定義專案。
Save the project and click on the scan button. This will launch the Scan Software's Guided Procedure.
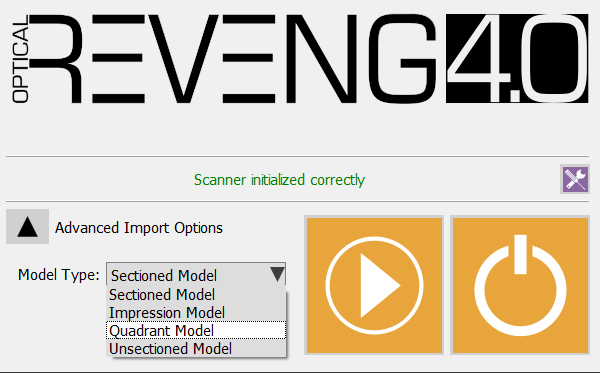
In the splash screen select Advanced Import Options and, in the Model Type drop down menu, Quandrant Model.
Accept your choice clicking on the start button, and the software will present the scan wizard for the Concept Quad Module.
Scan Procedure
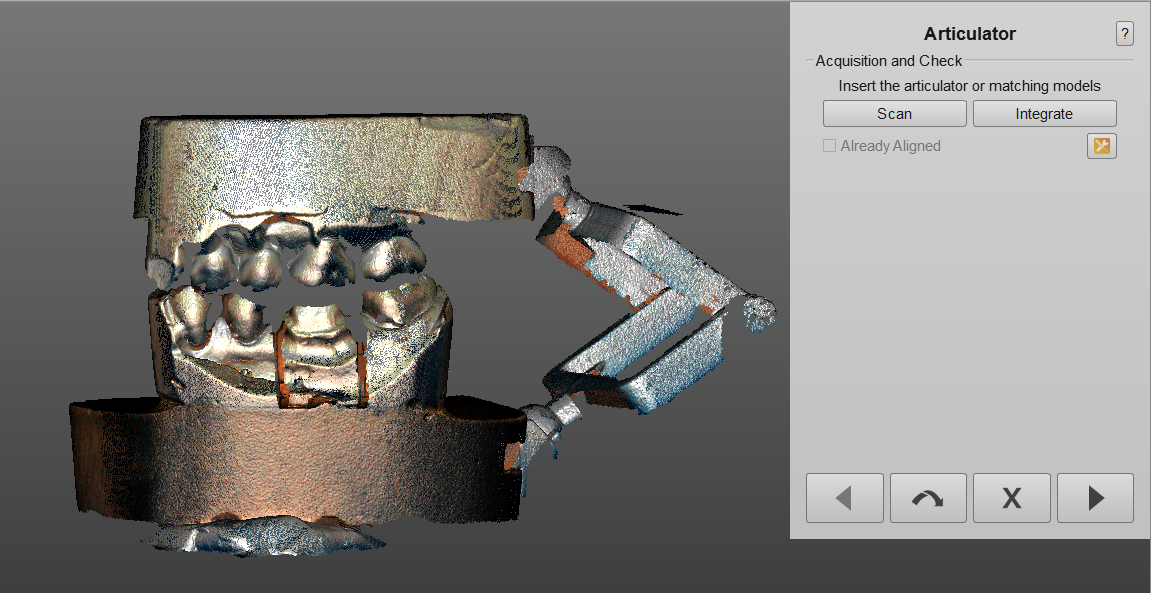
The first scan the software requires is the occlusion. Differently from the other articulators strategies, the Concept Quad takes 6 images of the occlusion with a low tilting.
It is possible to just place the models on the plate facing the cameras, making sure they are stable enough and that they won't move during the scan.
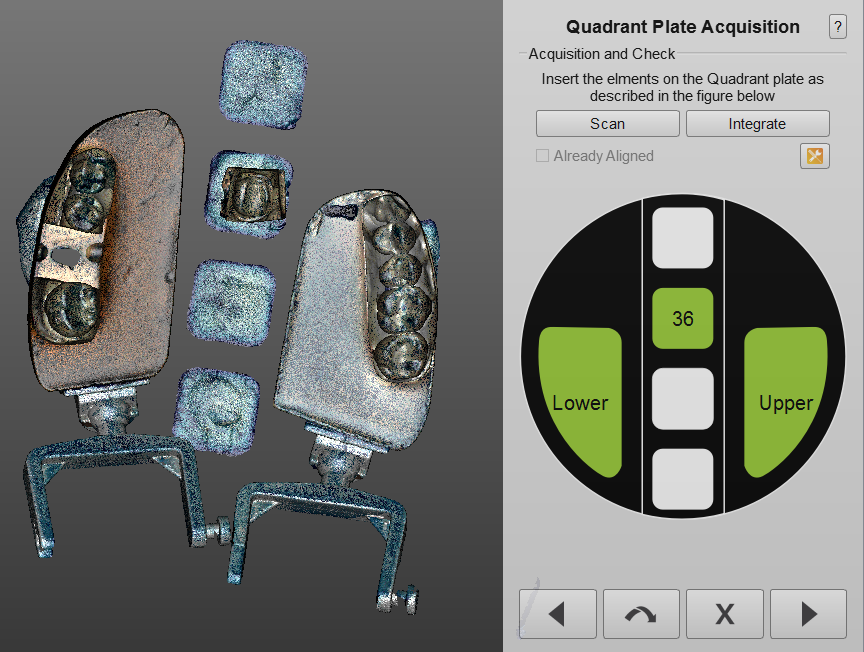
The software will present a step for editing the articulation image, and will afterwards require to scan the individual elements on the Concept Quad Model Holder, describing how to position the elements.
Once this scan is performed, the elements have been all sucessufully acquired, and the user doesn't need to scan furtherly.
Follows a step to cut the height of the model, after which the individual elements will be aligned to the articulation image.
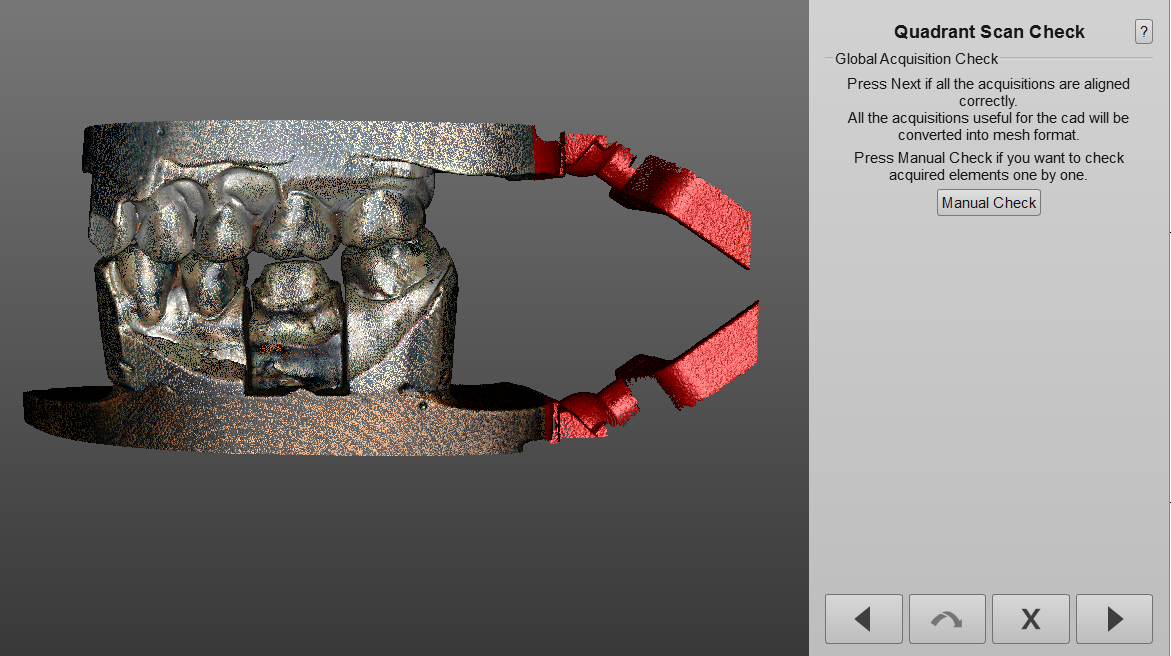
At this point the project is ready to be meshed, still the software offers the chance to edit the images or to manually check all the individual elements just by clicking on Manual Check.
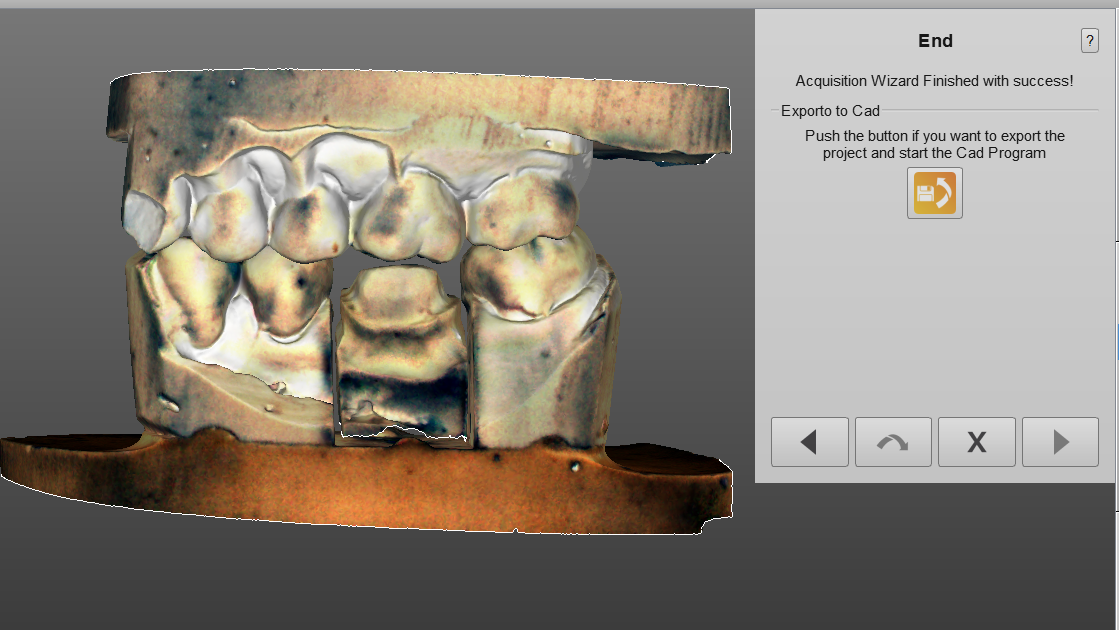
If the user thinks there is no need to check the elements, simply by clicking Next the scans will be meshed and ready to be exported.
